Ben, a.k.a 'DIY Dad', worked with his survival-obsessed son to help him make his own handmade knife and leather sheath.
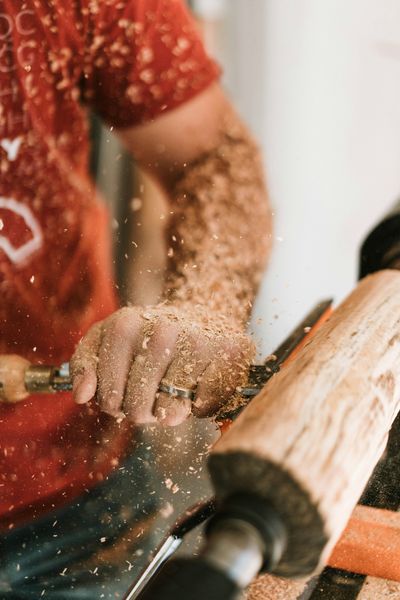
My 10-year-old son is a survival expert, a mini Bear Grylls. He spends hours outside in the garden dressed head to toe in camouflaged gear building shelters, whittling pieces of wood and pretending to catch wild animals. When he is indoors he watches bushcraft videos on YouTube, learning how to use an axe, catch fish using a spear, and survive an avalanche.
A knife is an important part of what he loves to do. The idea of giving a child a knife fills some parents with terror, but, with adult supervision and instruction, it can be a very positive thing for them. In Scandinavia for example, 'Educational Sloyd' is a system of handicraft-based education taught in all schools for children from 9 years old that teaches, among other things, knife skills.
With proper guidance and supervision, children can develop a respect for knives and an understanding of how to use them safely as tools.
My son already had a special child-friendly Opinel knife with a rounded tip that I'd given him for his 8th birthday, and we'd spent time learning how to use it following tutorials we'd found online. Two years later he has proved to be a very sensible and responsible boy, still handling the knife in the way I taught him, always being very careful and serious.
He felt he was now ready for a 'proper' knife, and he knew exactly what he wanted: a handmade knife.
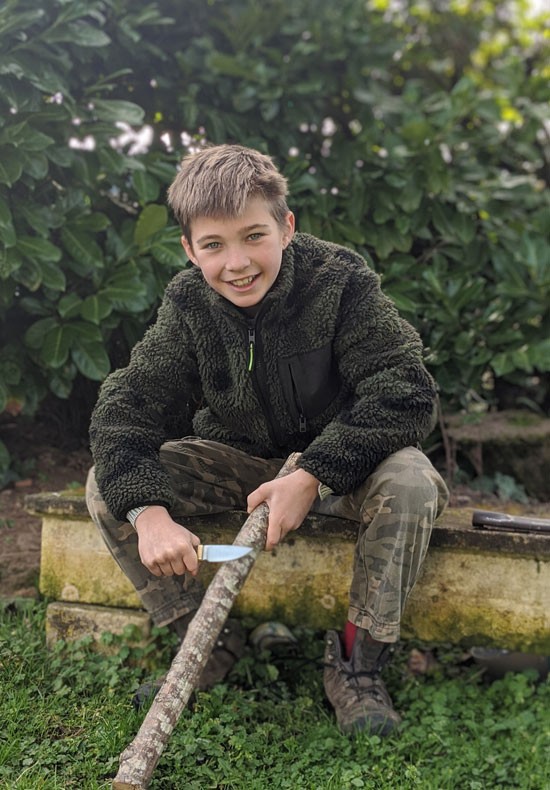 My son with his knife
I'm not a blacksmith so actually making the blade is beyond me, so we started his knife-making project with him choosing and buying a knife blank (using his pocket money). You might think this is cheating but there's still plenty of work required to make the knife and sheath. Going on a course to actually make the blade, however, is definitely on my list of things to do this year.
In addition to the knife blank we also bought some other knife-making supplies:
- brass pins / rods
- a lanyard tube
- epoxy glue
- some nice wood to make the handles (scales).
What follows is how we made the knife scales and sheath. It's not an exhaustive guide so if you're going to make your own and are following this, you'll have to figure some bits out yourself. And please note, we are not experts! There may be better ways to do what we did but given that we were very satisfied with the end result, I think we did OK.
 Knife scales - preparing the wood
Step 1 - scales
To begin with we laid the knife blank on the wood and my son marked out the rough scale shapes. I cut them out and drilled the holes for the pins and lanyard.
 Marking out the shape of the knife
 Glueing the wood and pins together
Step 2 – pins, tube and glueing
We checked that the pins and lanyard tube went through the scales and knife blank properly, putting it all together as a test. It all lined up well so we took it apart, coated everything with epoxy glue (including the pins and tube), put it back together again, and clamped it tight, leaving it to dry for a few hours. Using an angle grinder I then cut off the excess pins and tube flush with the wood.
 Clamping the project whilst the glue dries
 Sanding the wooden scales
Step 3 – sanding and shaping
I loved the next part; sanding and shaping. To make it a bit easier I turned my belt sander upside down on the bench and pressed the little switch so it was permanently on. I used a rough 40 grit brown wood belt to get rid of as much wood as possible, switching to a blue metal belt once I needed to sand down the sides with their brass pins and tube. It's difficult to get the scales the same thickness and shape both sides, so I took my time, carefully sanding and checking, sanding and checking.
 Sanding the sides of the handle
 The shaped knife
Step 4 – polishing and oiling
Once my son was happy with the shape of the scales we were almost done. I gave my son some fine sandpaper and showed him how to smooth the wood so it felt almost polished. He happily worked away on his knife for half an hour until the scales were absolutely lovely. Then, using vegetable oil, he oiled the wood, buffing it with kitchen paper until it was lustrous and perfectly smooth.
 The oiled handles
And that was it; we'd completed the knife-building phase of the project!
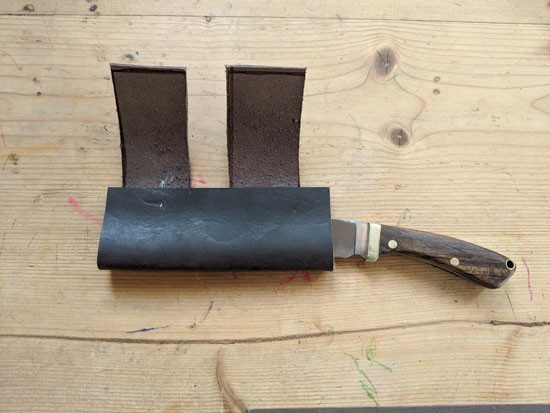
Next we started making the sheath. My son wanted a horizontal carry sheath; the sheath attaches to the belt and the knife sits in it horizontally rather than vertically as in traditional knife sheaths.
 A square of thick leather
Step 1 - preparations
Using a square of thick leather we'd bought online, my son marked out the shape of the sheath and the belt loops which I then cut out using a craft knife. We glued it together into the required shape, although next time I don't think I'd bother doing this as it wasn't really necessary.
 The basic sheath shape
 Drilling the holes to stitch
Step 2 – stitching
The trick to stitching thick leather is to drill the holes using a very small (2mm) drill bit with a Dremel type tool first. Trying to force a needle through without doing this is virtually impossible. We used some thick cotton thread. I showed my son how to do a back stitch and left him to it, just intervening at the end to tie a knot. It took him a while but he did a good job. He then used a candle and dripped wax onto his stitching and rubbed it in, to waterproof it. Maybe we would have been better off buying waxed thread as our effort was a little scruffy.
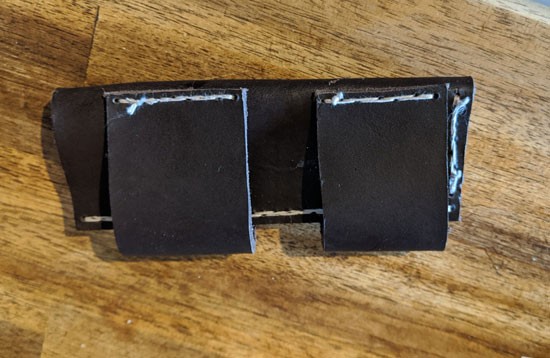 The stitching is complete
 Wrap the knife in clingfilm to keep it dry
Step 3 – wet forming
A sheath needs to hug its knife tightly and the way to shape it is called 'wet forming'. We dunked the sheath in warm water, leaving it there for half an hour, making sure it was soaked through. We wrapped the knife in clingfilm and put it into the wet sheath. Using his thumbs, my son pushed down hard on the leather, following the shape of the blade, repeating the process over and over until the leather took on the shape he wanted.
Step 4 – drying
To set the leather into this shape we took the knife out and put the wet sheath into the oven which was on low. The idea was to dry the leather but not cook it, so we checked it every 10 minutes. It took about 40 minutes to dry it out – by this stage it was hard and had a clear knife shape to it.
 Wet forming the sheath
My son is absolutely delighted with his handmade knife and sheath. He proudly wears it on his belt when he goes outside to do his 'survival stuff'.
So far he's only chopped up some hotdogs that we cooked on the fire, but he says it's perfect.
It was a fun project to work on, and the end result is really good. I'll be the first to admit I was surprised as I wasn't expecting much!
The best part of all this was spending time with my son, working on his project, helping him develop his passion. He was chuffed with his knife and I was proud of having done this with him.