Featured
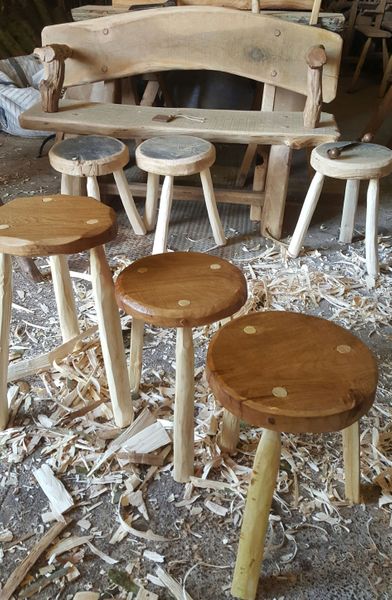
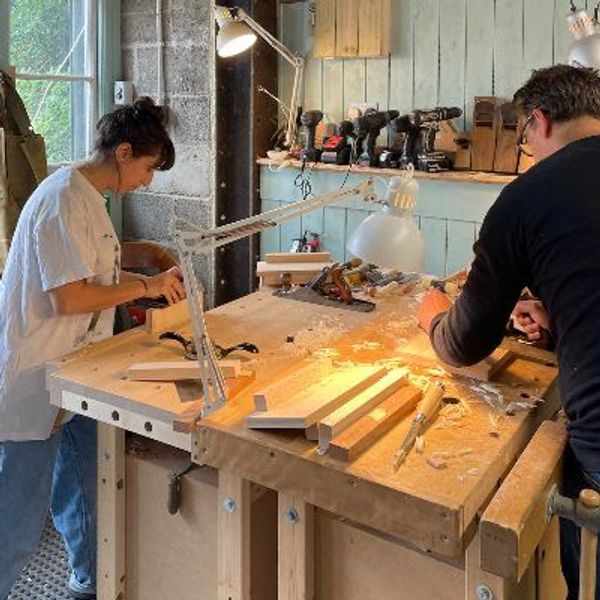
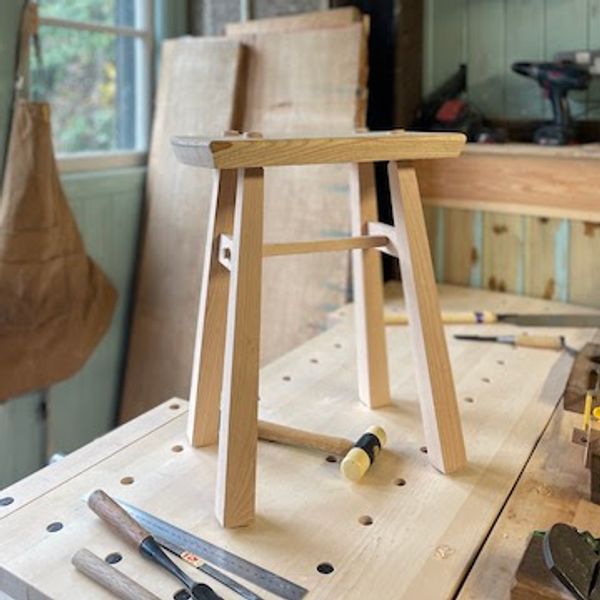
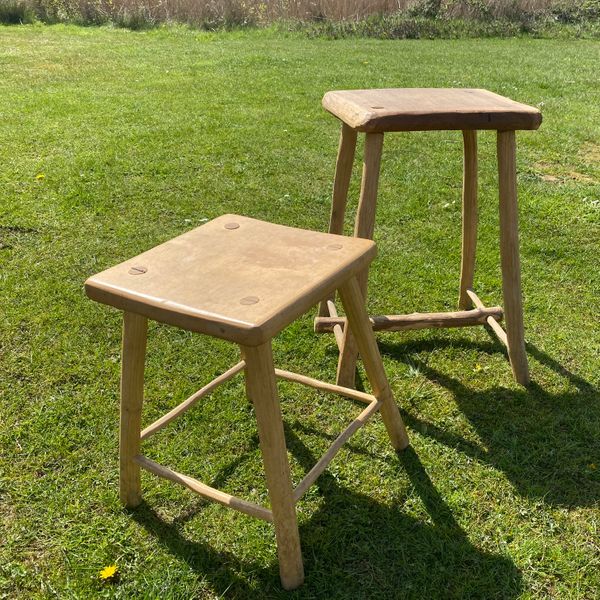
Oak stool making experience - rustic carpentry & green wood work
1 day
Next date: 17th Dec 2025

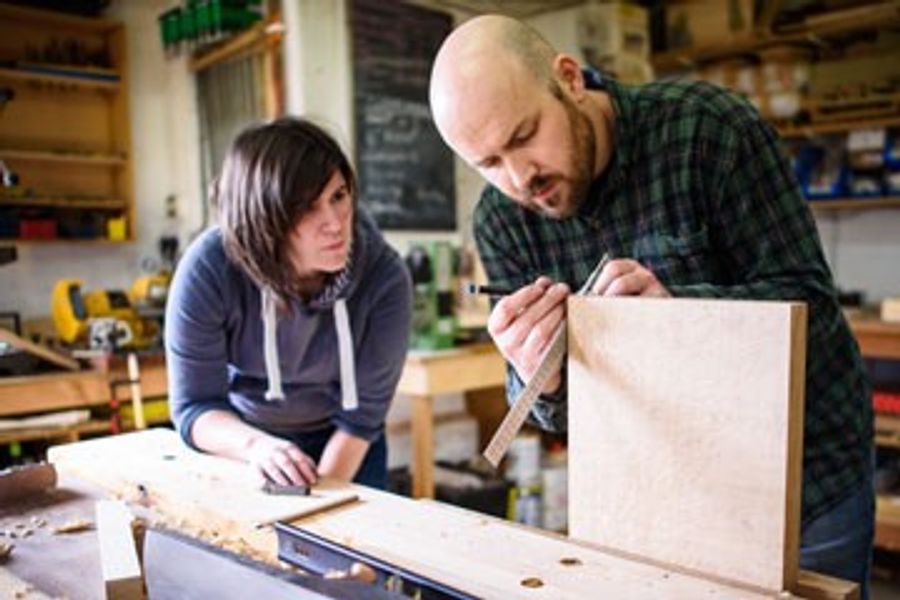
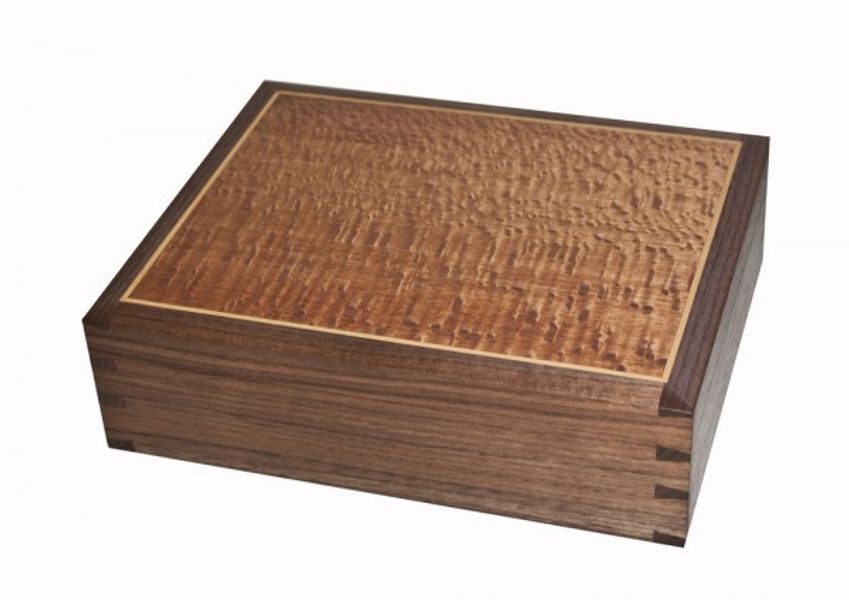
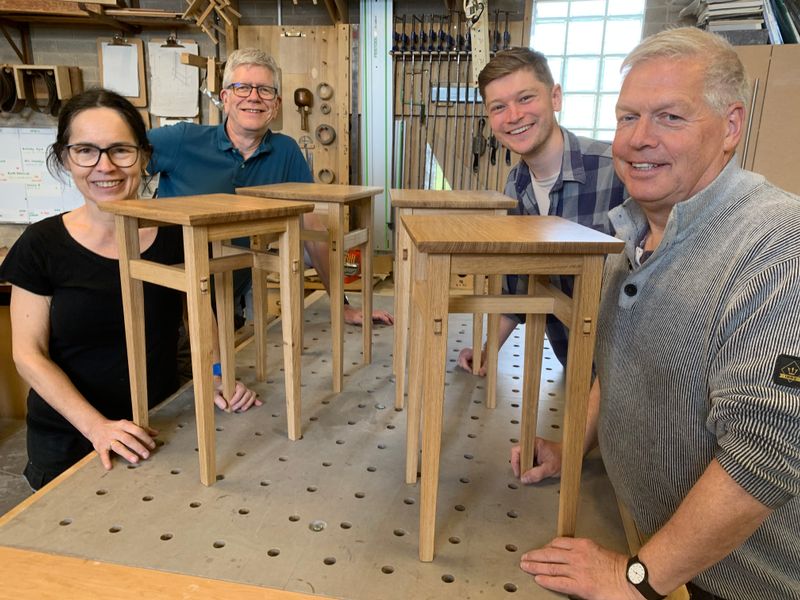
Furniture making course: Fundamentals of Furniture Making Part 1 (beginner)
2 days
Next date: 29th Jan 2026

Featured
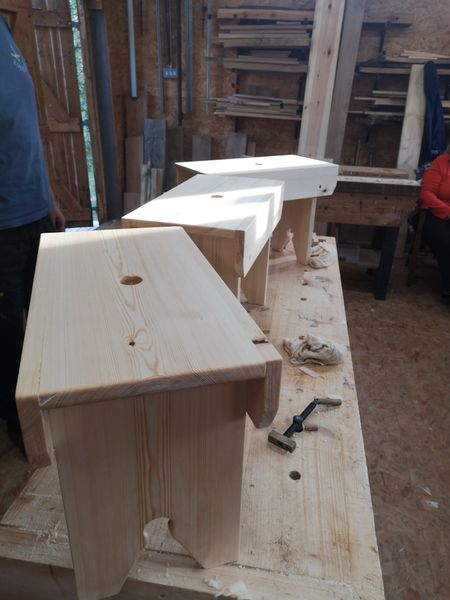
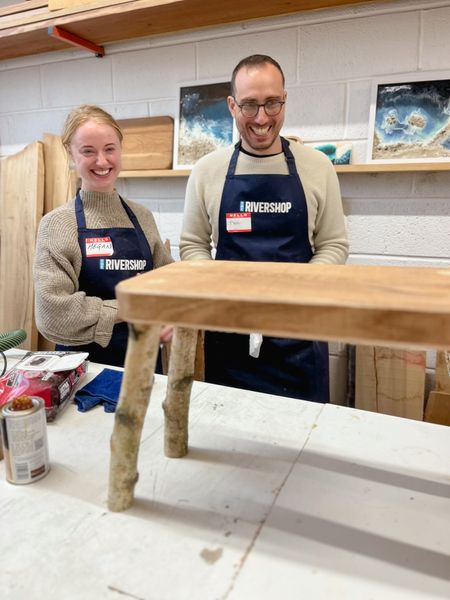
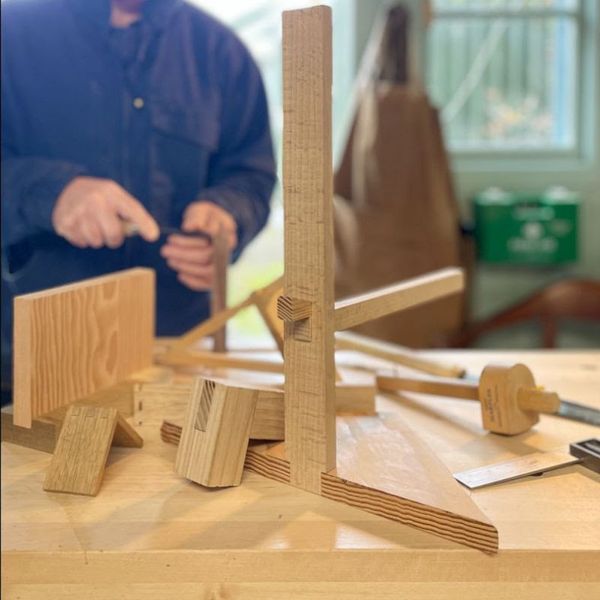
Cracket Stool made with hand tools for beginners
2 days
Next date: 31st Jan 2026
5 places left

Featured


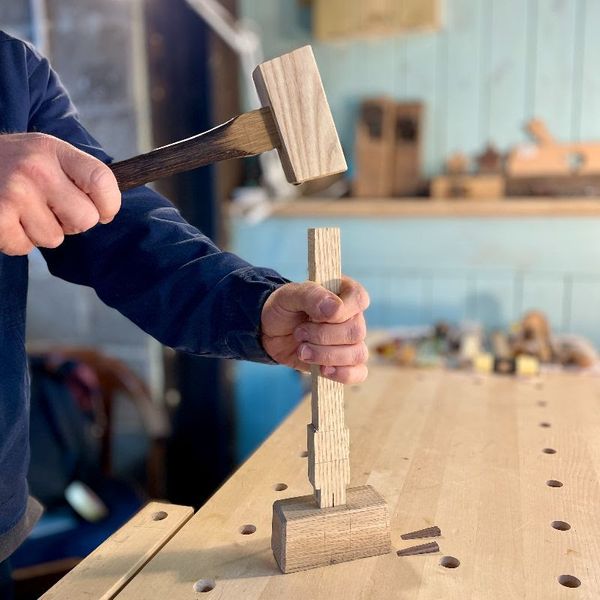

Introduction to Green Wood Furniture Making - 2 Day Course in South Devon
2 days
Next date: 24th Jan 2026
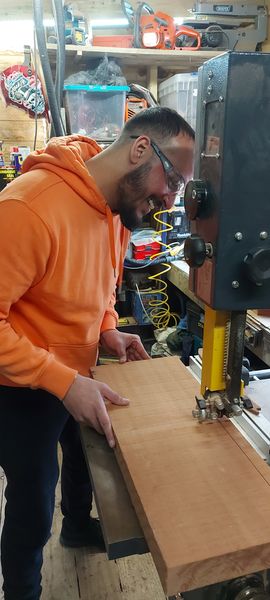
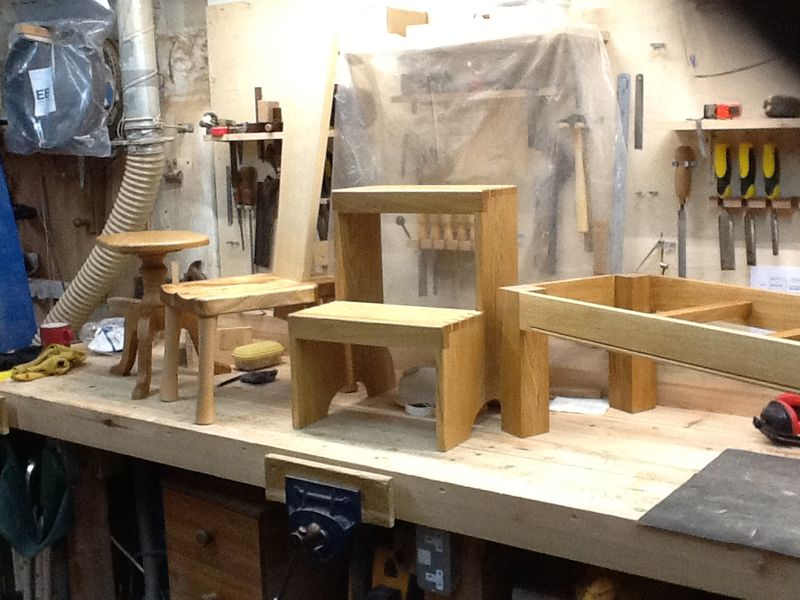
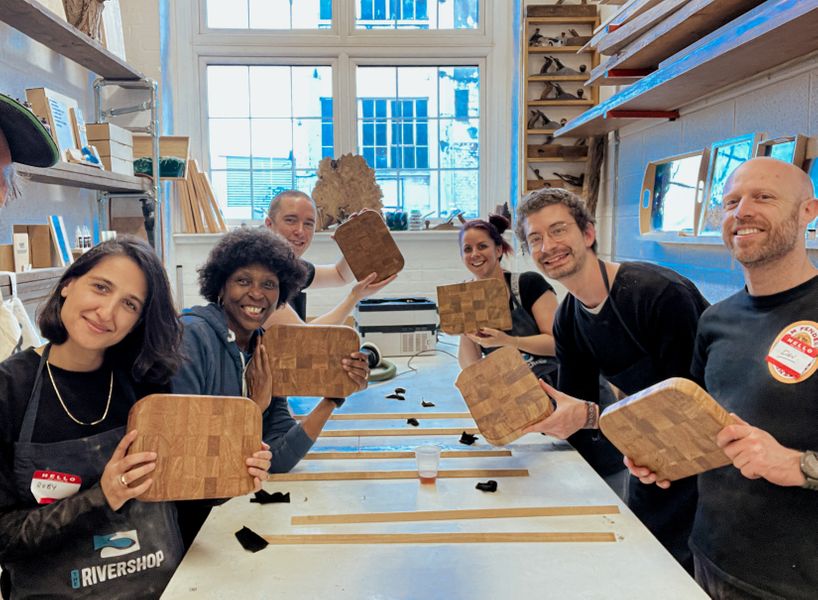
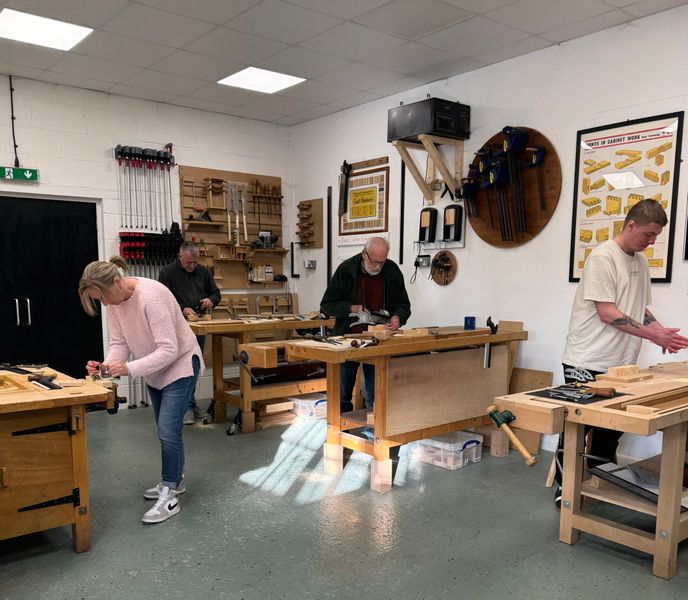
Furniture making and Cabinetry beginners course
8 hours
Next date: 16th Dec 2025
1 place left
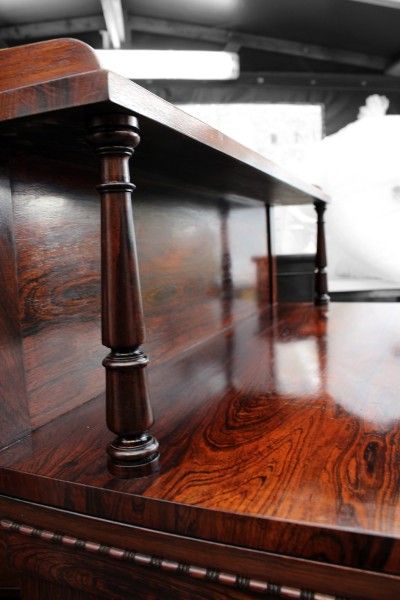
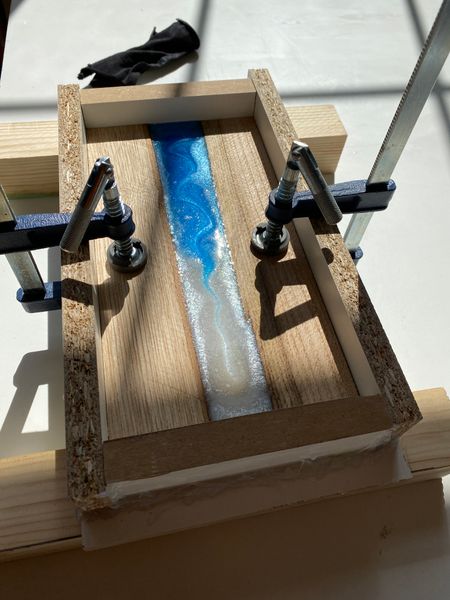
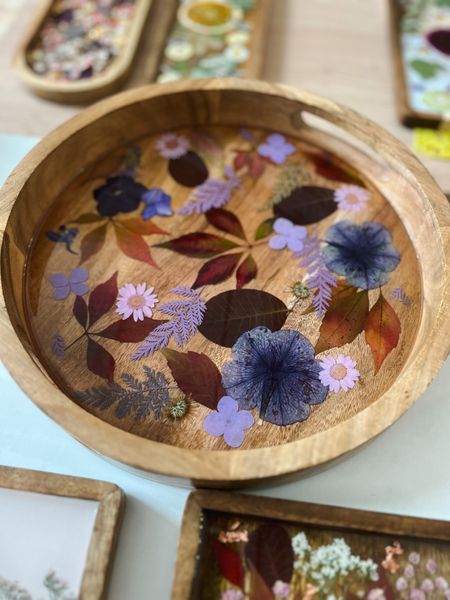
French Polishing & Woodcare - Beginners Course - 1 Day
7 hours
Next date: 12th Jan 2026
2 places left
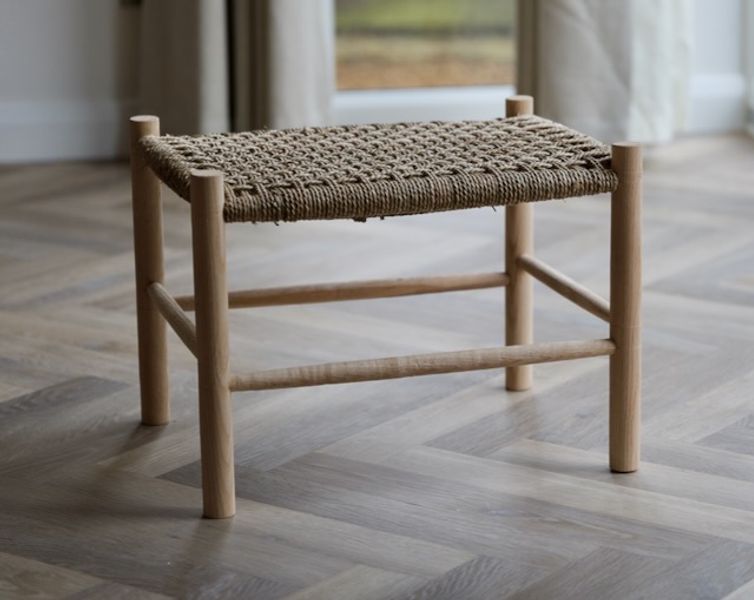
Building and weaving a simple stool at The Quiet Workshop
1 hour
Next date: 7th Mar 2026
6 places left
Introduction to Woodworking Weekend - Cambridgeshire
2 days
Next date: 18th Apr 2026
4 places left
Introduction to Woodworking - Cambridgeshire
6½ hours
Next date: 16th Jan 2026
4 places left
Loading...