By Kate Dewmartin
Today, I am relishing wearing a pair of leather shoes I made myself, using traditional shoe making techniques. They are a joy to put on, with a light, soft feel and a snug fit.
My new shoes were the result of a three day course held in the Traditional Crafts Barn at Stanwick Lakes in Northamptonshire and run by the Rockingham Forest Trust.
The traditional craft courses programme at Stanwick also includes basket weaving, blacksmithing, pottery and woodwork as well as the shoe making. The idea was to give young unemployed local people a chance to (re)discover some of the skills and crafts that have been in their communities for centuries. Now the centre is open year round offering these courses to the public, who travel from all over the UK, as has our group.
England has a long tradition of quality hand made shoes, and Northamptonshire has always been the footwear makers hub as an area previously full of tanneries, cattle breeders and shoe-makers (one example being the famous Dr Marten boot which originated just down the road from Stanwick). Of course , as with everything else, most of our shoes are now imported. The film ‘Kinky Boots’ tells the story of the struggle to keep a Northampton shoe factory in business and, alongside plenty of comedy, it extols the leather-working craftsmanship of the area.
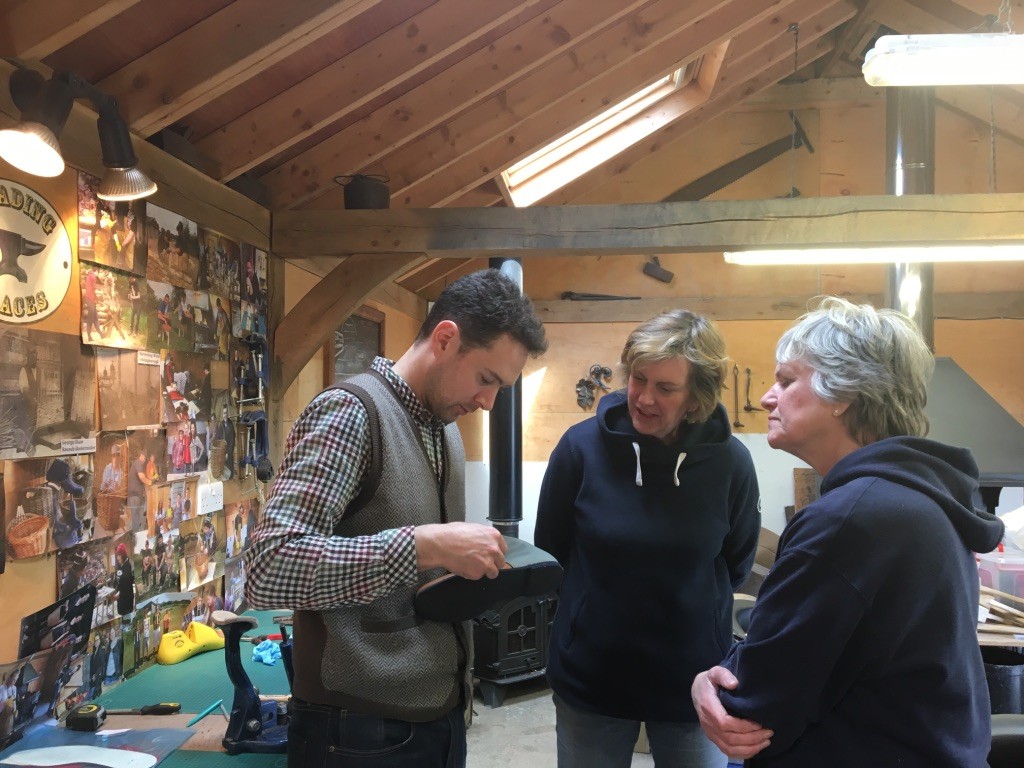
Our tutor Nick Cooper, is a professional shoe maker based in Northampton, making beautiful bespoke shoes to measure on commission. A pair of Nick’s shoes take around two full weeks to make and cost upwards of £1700, including a mock up pair for fitting.
Day One
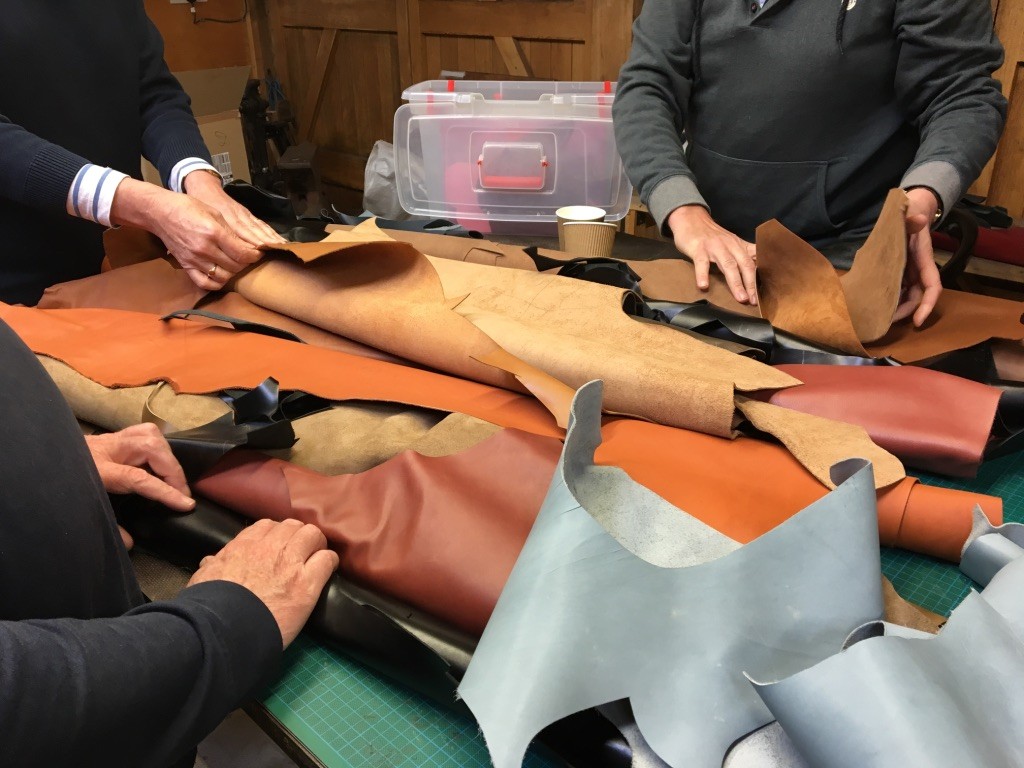
The morning starts with a welcoming chat over coffee and soon we are happily sorting through calf skins deciding our colour schemes. There is lots of discussion about where the leather originates (France and Italy mainly), where skins from the UK mostly end up (China), how the direction of stretch varies across a skin and where to place the pattern pieces so that the stretch runs in the right direction across the shoe.
We check to see how our feet fit inside a set of sample shoes, and then choose the corresponding pattern sets in our chosen shoe size. The vamp pieces have to be flipped over to avoid ending up with two left feet (or right!)
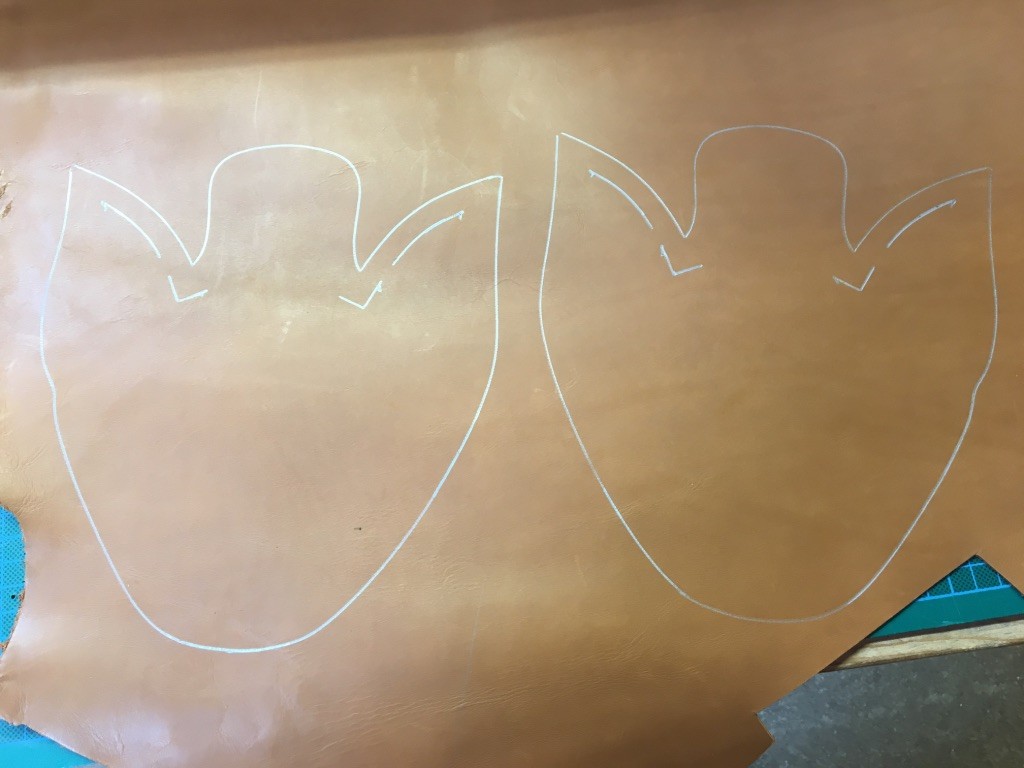
We use silver ink pens to mark around the patterns (four quarters and two uppers) and get down to the cutting, working with the body in long smooth strokes.
By mid morning we are already stitching! We all chose to use a yellow waxed thread common to many traditional leather workers and according to Nick, Hungarian shoemakers. The stitches follow our carefully scored and punched stitch markings. The stitch we use is ‘saddle-stitch’ and is done by hand using two needles which cross over to create a neat stitch on both sides of the leather.
Lots of passersby stop to ask what we are doing and are full of questions, my favourite being ‘do you get to make both shoes or just one?’ Nick tells us he has experimented with pig skin leather, shell cordovan (equine leather) and even sting ray and fish leather! We talk about how the word Cordwainer comes from ‘Cordoba’ in Spain and Nick explains that he prefers to be simply known as a ‘shoe maker’ himself. One of the participants Jerry, explains that historically, only those in the Cordwainers Guild could make shoes; cobblers were legally restricted to mending them.

For my shoes I have chosen blue sides (‘quarters’) and tan uppers (‘vamps’). We discuss where the word vamp has come from and whether there is a connection with the word ‘vampish’? The phrase ‘revamping’ must come from the once-common practice of replacing the vamp (upper) of a shoe.
Before stitching up the heels, we line and punch holes for the laces and fit invisible rivets to strengthen the eyelets and adhere a ‘toe stiffener’ (a bit like interfacing) using a heat gun.
Day Two
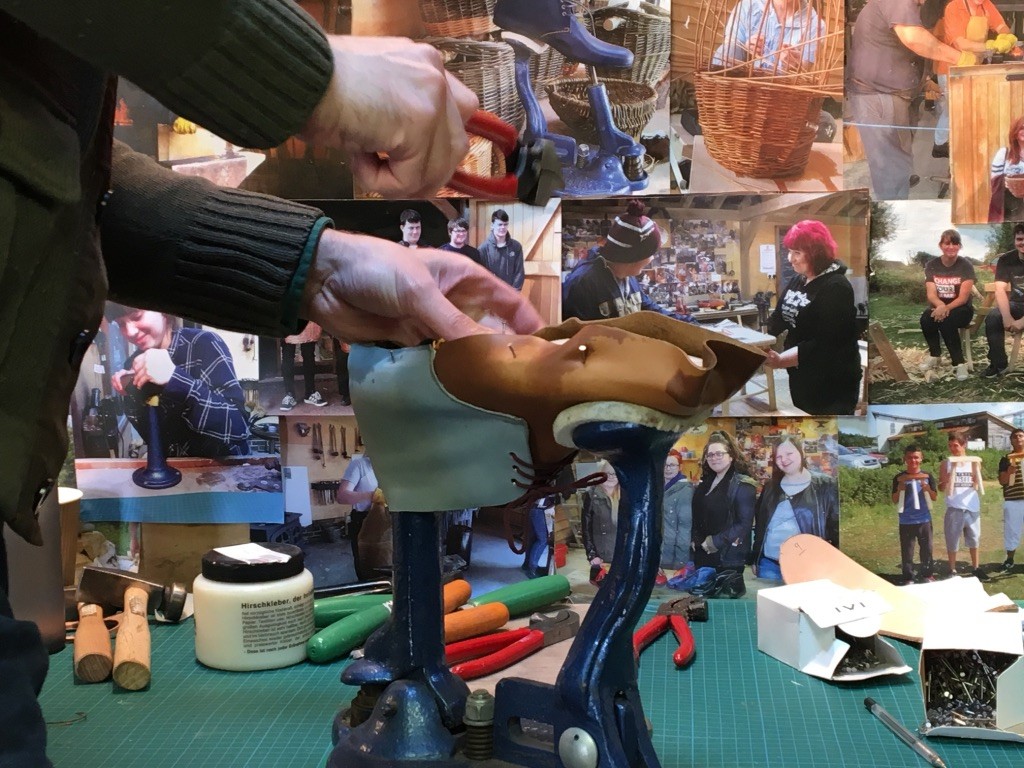
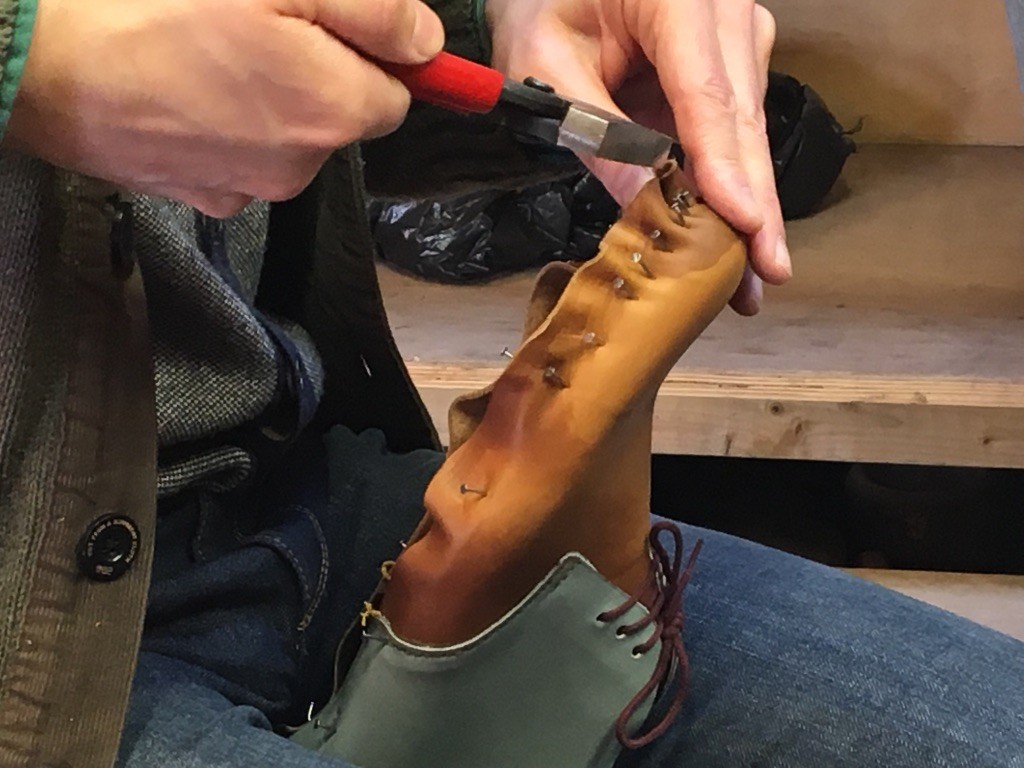
Today will be all about ‘lasting’ and we collect our individual shoe lasts with great enthusiasm. Lasts are made of plastic or wood and for each style and size there is a last, which effectively creates the shape or mould of the shoe. Our shoes have been moistened and left to ‘sweat’ in a plastic bag overnight. We re-water the leather and get to work on the lasting jacks.
First we tack the thick leather inner soles to the lasts and then position the leather uppers over the lasts and start the process of stretching and pulling using the cobblers pliers (curved with a hammer included - a great tool!). To stay on an even keel, we follow a numbered map of the foot that Nick draws for us. Once I get hammering it’s easy to get into the groove and I feel completely absorbed in the process. Though complete concentration is required, I find it extremely relaxing.
At coffee break the group talks about why they are attending this course. Stephanie, a retired GP, has decided to learn ‘one new thing each month', a personal project she clearly relishes, having spent 40 years in the NHS. Three of the participants are siblings and, having grown up in this area, they were immediately drawn to this course as their grandfather and his whole family were all cobblers. They even have a tiny pair of beautiful shoes hand made for their father aged one year in January 1929. Jerry, who is noticeably more adept at some of the techniques, turns out to be a keen leatherworker already and shows me a fantastic large holdall he has made for travelling. We are a content group and I get the feeling everyone is finding the learning of these traditional techniques very satisfying.
Day Three
Today is all about our soles.
First we make the ‘sock’ and cushion which will sit inside the shoe, then cut out the soles and heels from EVA, a type of hard wearing rubber foam. Any jagged edges are softened and smoothed on the belt sander.
The preparation of the leather before gluing is key and we spend some time with the rasp creating the right surfaces to make a strong fastening.
Once the heels are in place on the soles, we can glue the soles to the shoes, following the strict two coat rules and drying time allowances for the glue.
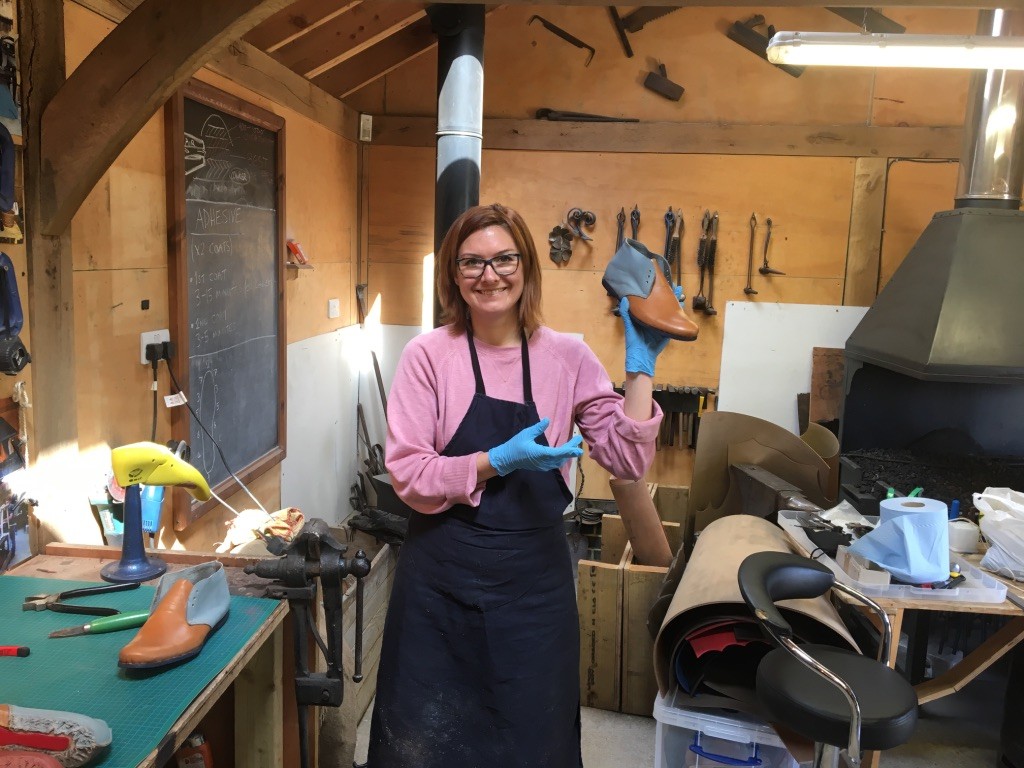
The final phase is removing the shoe from the last, known as 'slipping the last' and we all gather for the ‘Birthing of the shoe’.
I nervously try one on and to my joy it fits like a glove!
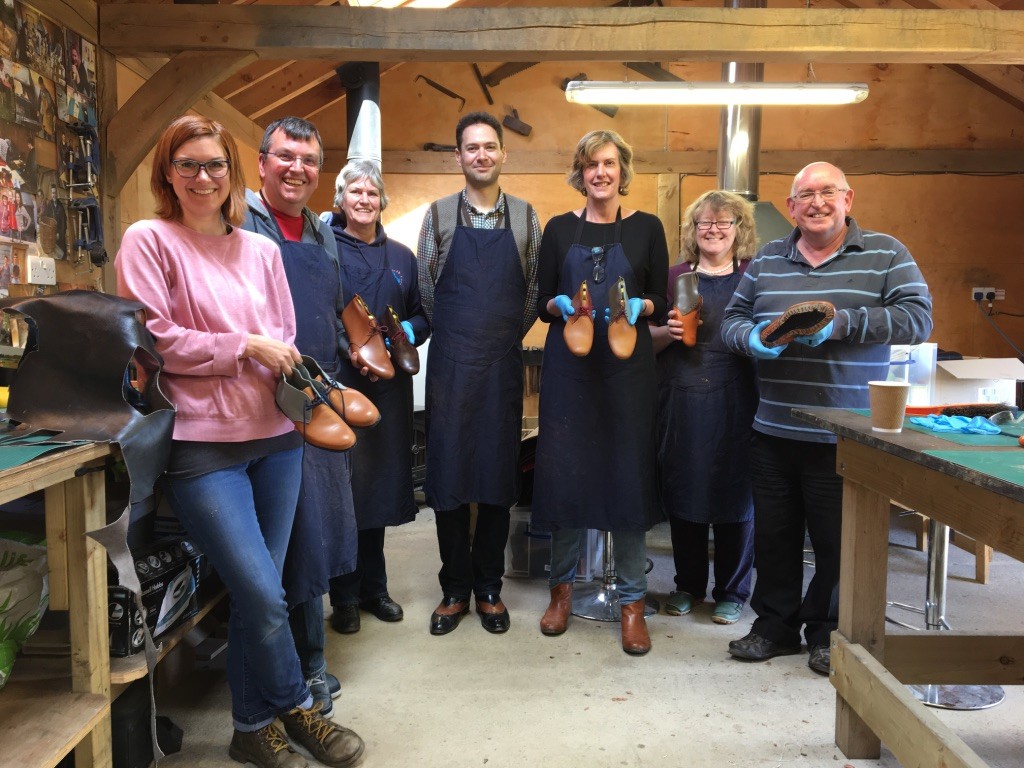
We say our goodbyes and on the way home my mind is full of all I have learned and the people I have met. It has been a memorable and enjoyable three days and now in all of our various parts of the UK we each have a fine pair of hand made shoes and a story to tell…
The Rockingham Forest Trust team are now focusing on a new project called Settlers, for which they envisage a whole host of heritage and craft courses in their fabulous venue, including coppicing techniques, charcoal making, wattle and daub building techniques and timber framing courses.
Watch this space…!