Every day, or hour, or minute spent in learning a new skill is time well spent. By trying new things, you learn that you’re capable of change, growth, and flexibility, all of which contribute to your motivation to continue. You may feel challenged, you may even feel uncomfortable, but ultimately you will feel happier, possibly even euphoric!
Creative learning is fulfilling on every level!
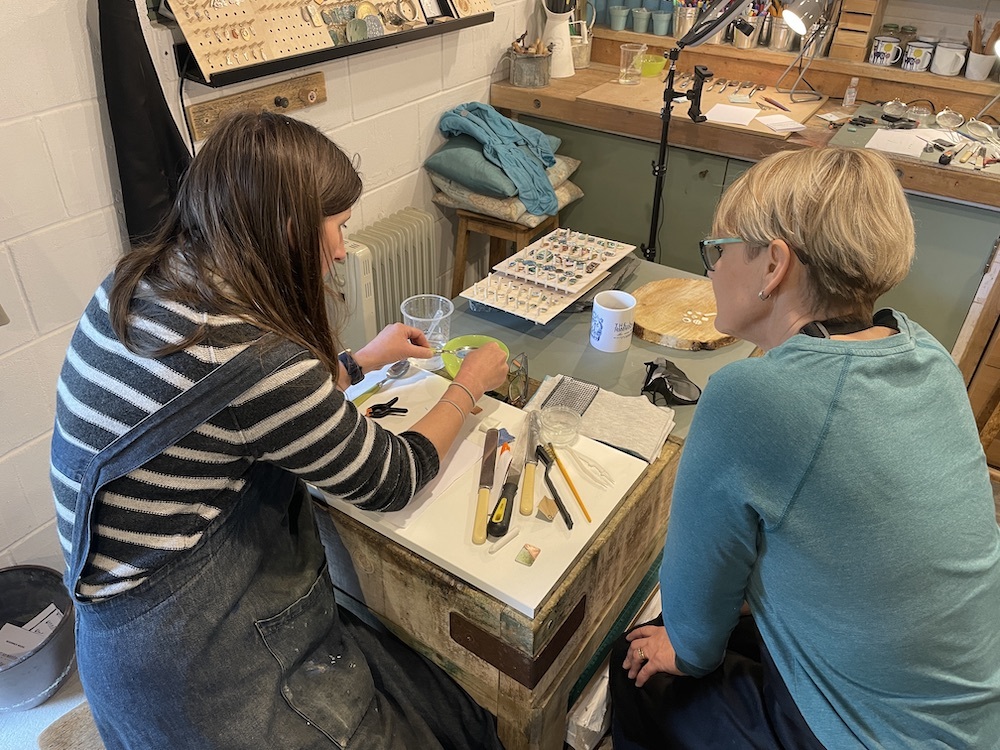
You may remember that in a recent blog we spoke to Rachel Ellen at Gifted Crafts Company to find out more about her life, motivations, aspirations, and inspirations. Rachel very kindly invited me to her studio in the Shropshire hills to try any craft from her repertoire that appealed to me. As our regular readers will know, Rachel teaches a wide variety of crafts so why did jewellery enamelling grab my attention in particular? Suffice to say, it was not an easy decision but, ultimately, I wanted to try a craft that was completely new to me, with skills and techniques I had no prior knowledge of, and one that I felt would challenge me enough to want to try it again...and again, and again!
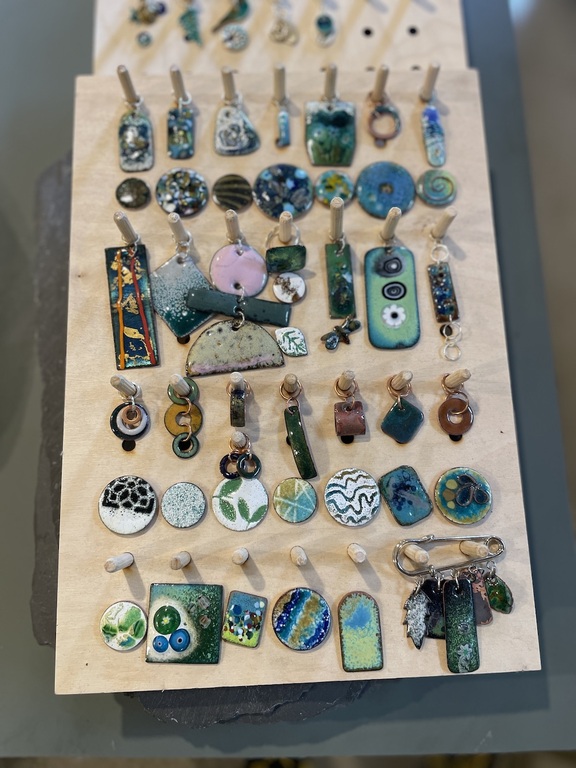
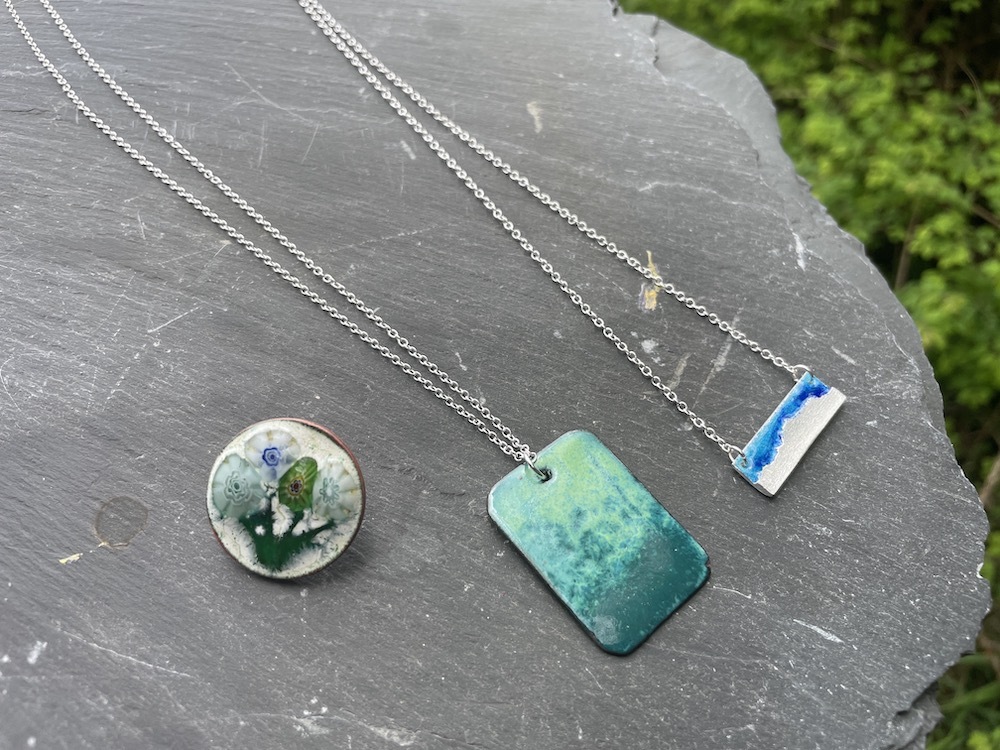
A stunning array of Rachel's enamelled jewellery pieces.
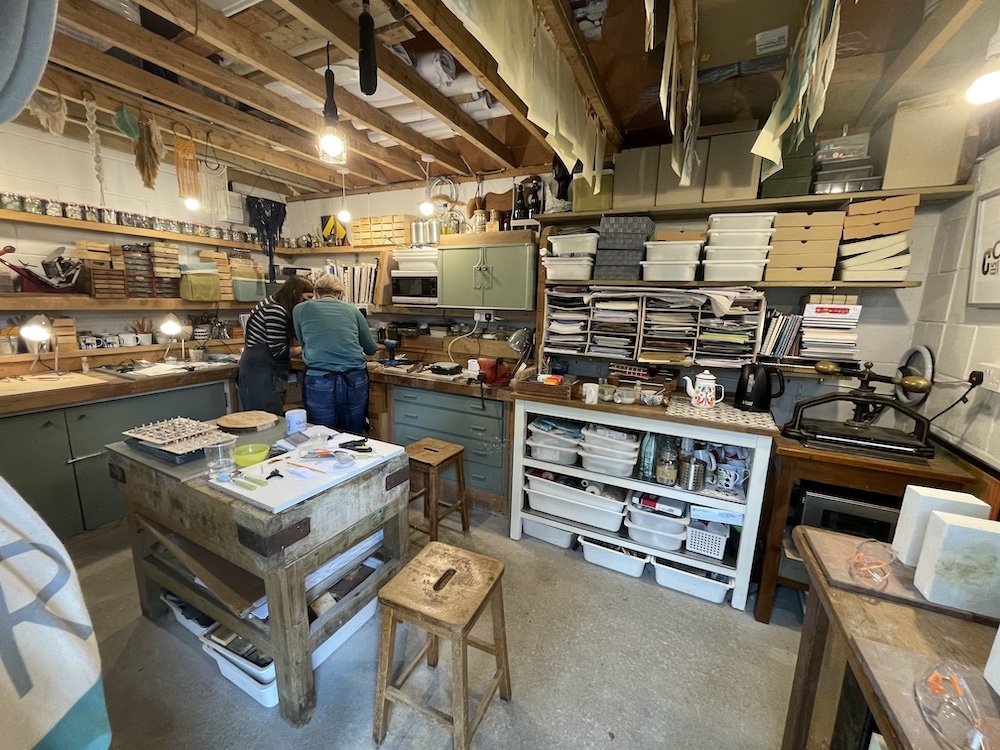
We (my willing amateur photographer for the day - aka 'hubby' - and I) arrived after a drive through stunning countryside (Shropshire is one of the most rural and least populated counties in the UK) to a welcome notice indicating the parking spot and the short stroll to Rachel's studio, a building so magnificently well organised that even my ex-military husband was suitably impressed. It is a feast for the eyes; a treasure trove of crafty stuff to satisfy even the most dedicated of pro-craftinators!
The craft space of my dreams
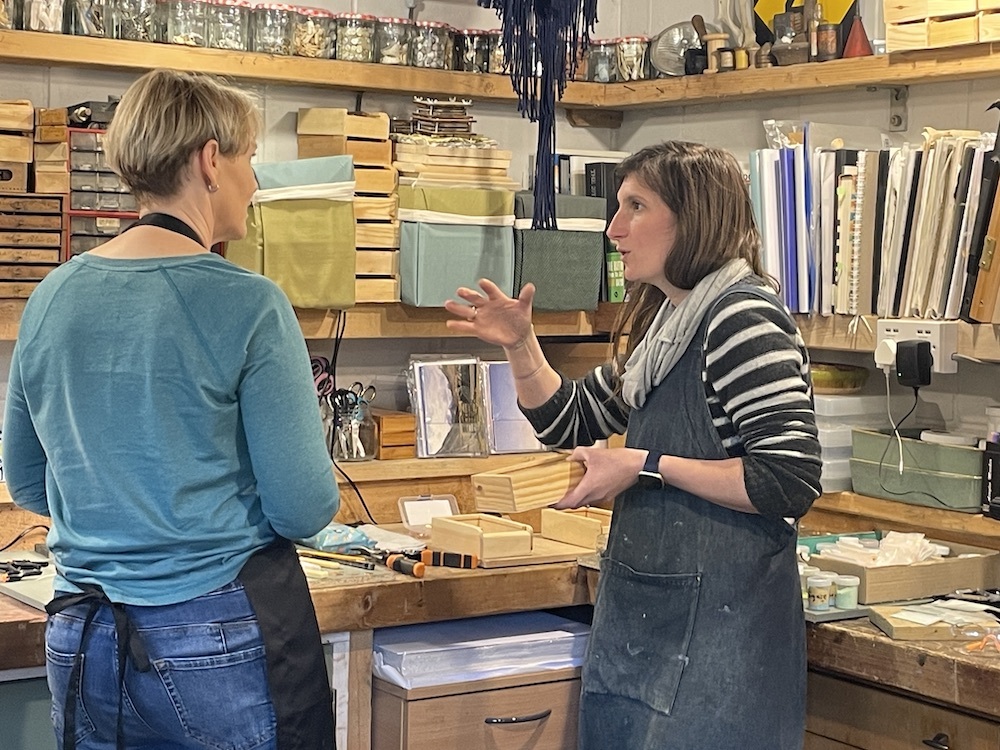
After satisfying priority number 1 (tea) we had a bit of an explore around the studio and a chat about our goals for the session. Rachel suggested starting with one or two copper pieces before moving onto silver if we had time. I was game for anything, keen for everything, but equally happy to simply soak up the creative vibe in this lovely place. That, however, wouldn't make for very interesting reading so we made a start on Project No. 1.
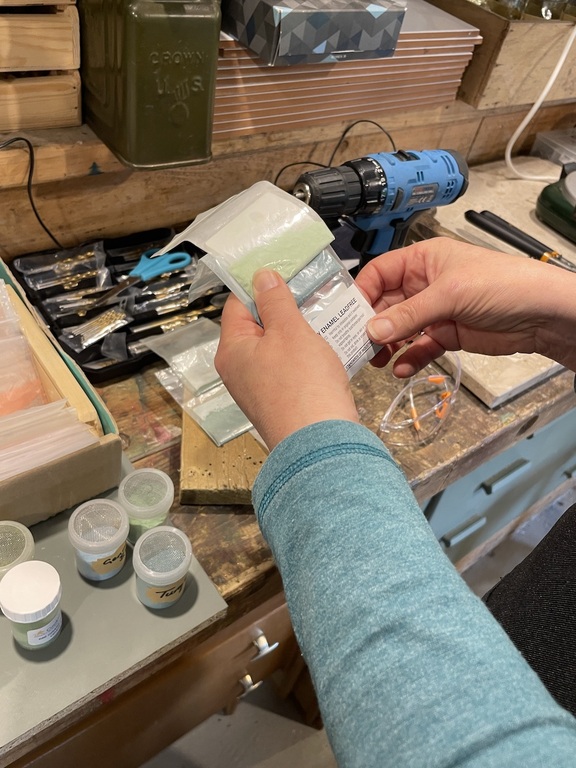
We decided to begin with a rectangular piece cut from copper sheet, clipped into shape with tin shears before filing the corners and edges for a smooth finish, scratching the surface to be enamelled, and gently hammering out any undulations in the surface. A fine drill bit was used to create the hole for a chain before painting on a thin layer of cellulose which helps the enamel to stick.
Exploring the various copper elements to choose from.
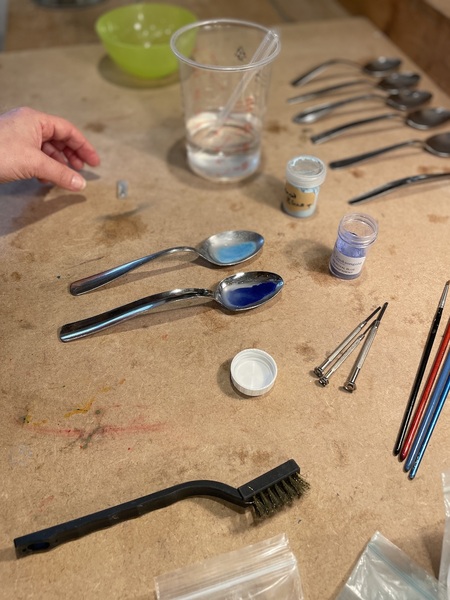
With Rachel's work on display for inspiration, it was time to choose my colour palette and it turns out we are both obsessed with blues and greens! Even on the blue/green spectrum, there is seemingly infinite variety as well as the choice between opaque and transparent enamel powder which is essentially ground glass.
So much choice!
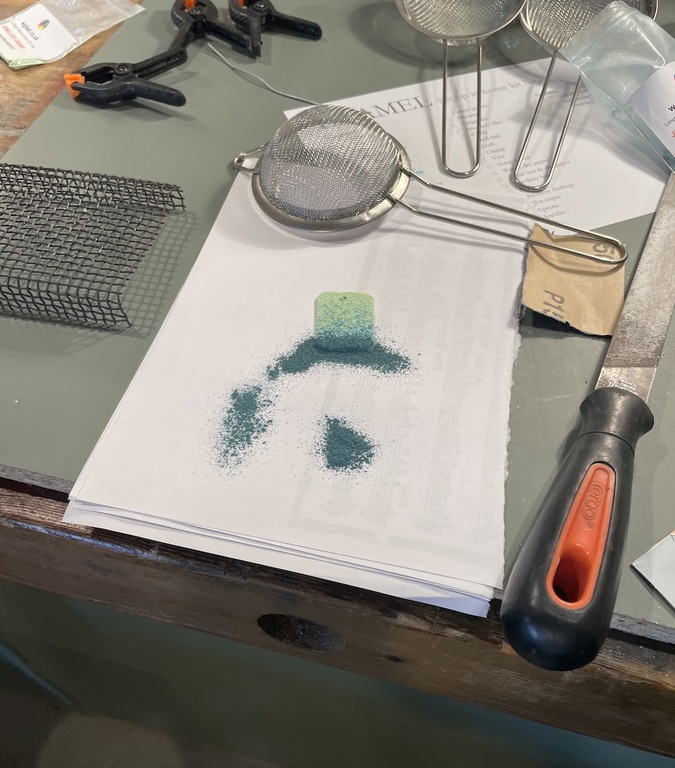
Having chosen my 3 complementary colours, Rachel demonstrated how (while wearing a face mask for protection against inhaling glass particles) to shake or sift the powder onto the copper in layers. There really are no rules here; I kept it fairly simple and created a pale green base layer all over, followed by a shade of turquoise, and then teal to give some depth and texture with no real expectation of the outcome other than curiosity. As Rachel explained, part of the beauty of enamelling is that it is difficult to predict exactly how it will turn out once the heat of the kiln transforms it, and to me that is part of its appeal.
3 layers of complementary colours.
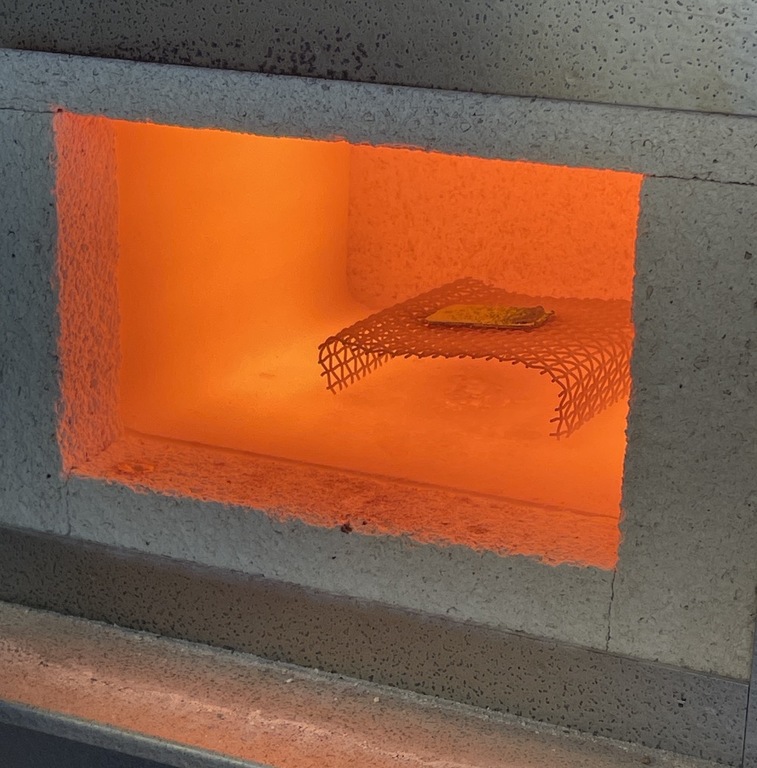
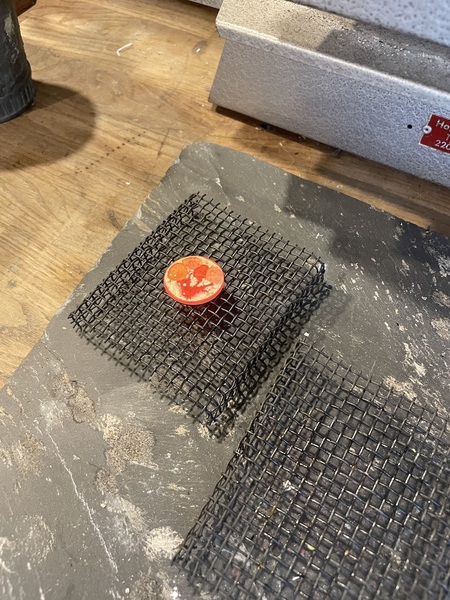
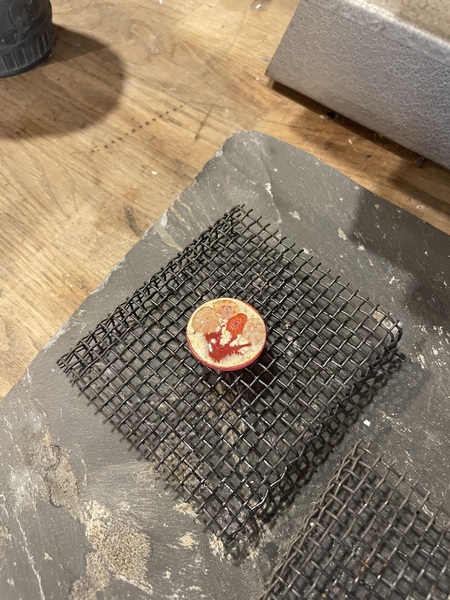
From here my creation was carefully transferred onto metal gauze for firing in the kiln, which by now was sitting at a toasty 1500 degrees. Surprisingly, the firing process is very quick. Checking every 10-15 seconds, we watched the enamel powder become more granular before starting to melt until it finally, after less than a minute, transformed into a shiny, softly textured layer glowing deep orange in the heat.
The enamel powder transforming to glass in the heat of the kiln.
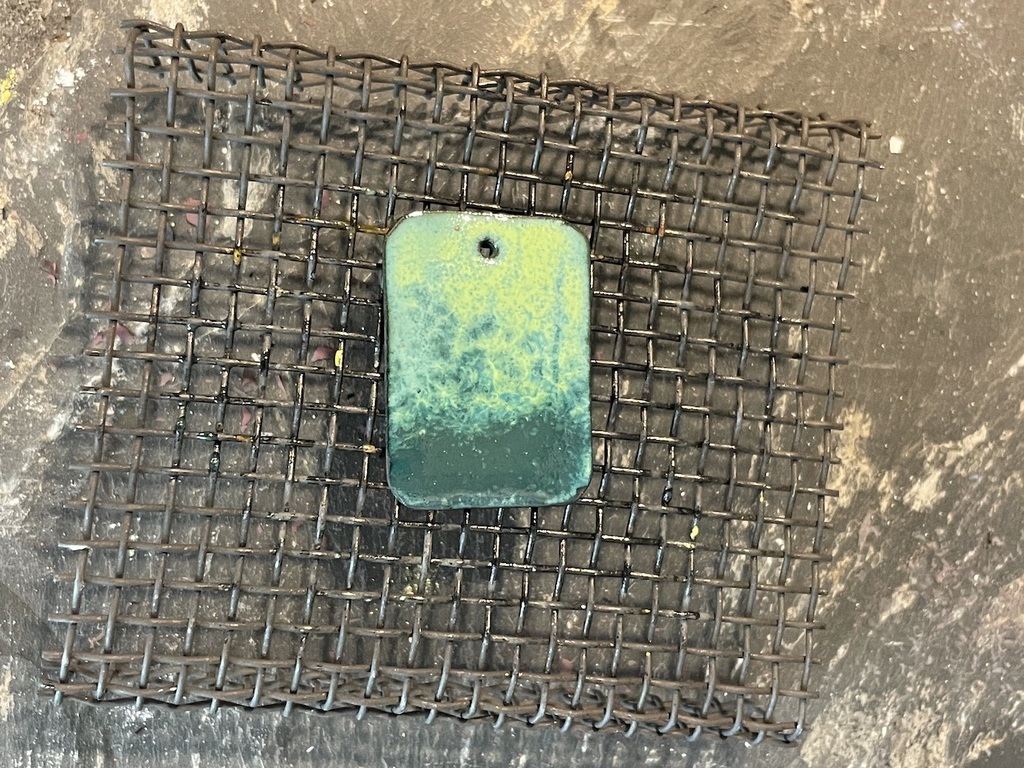
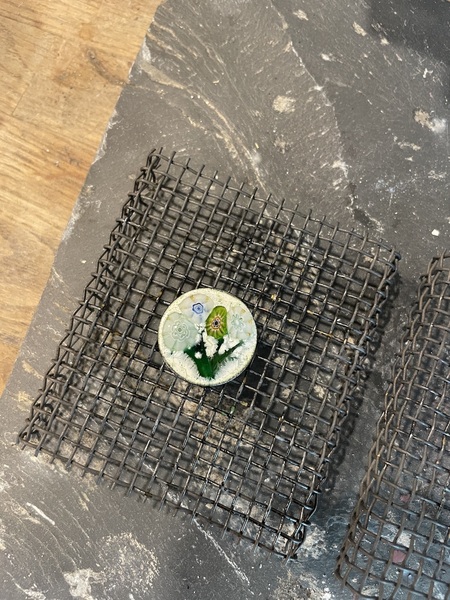
After 10 minutes of cooling, the finished piece was, to my eyes at least, quite beautiful. I hadn't expected the slightly botanical feel that emerged and the colours are very pleasing. A polished piece of professional jewellery? No, but not bad for a first attempt, and so on to the next, a slightly trickier process of adding glass rods and tiny glass beads or 'millefiori' literally meaning 'a thousand flowers' to create a circular brooch.
Perfect imperfections.
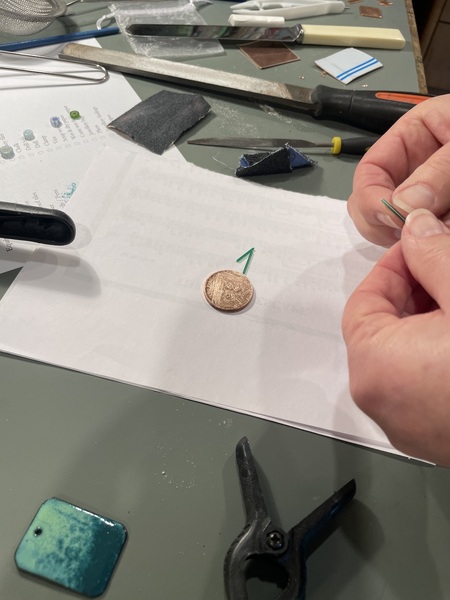
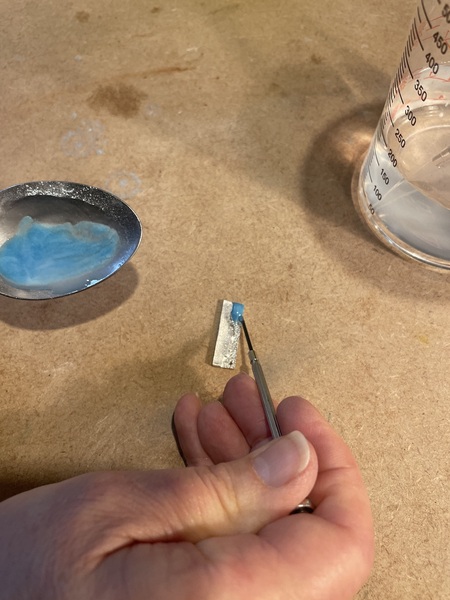
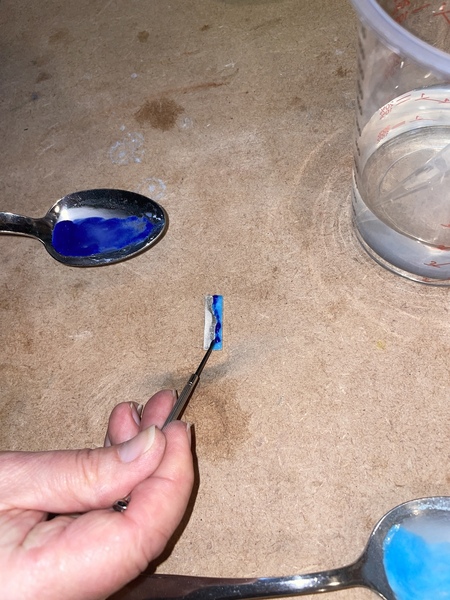
For the brooch we used a coin and the same techniques for preparation and sifting of coloured enamel powder to create the base layer. I then added pieces of glass rod to resemble flower stems and 4 millefiori beads as flowers.
Preparing the surface with wet dry sandpaper.
Breaking glass rod to make 'stems.'
Delicate adding 'stems' to the baselayer
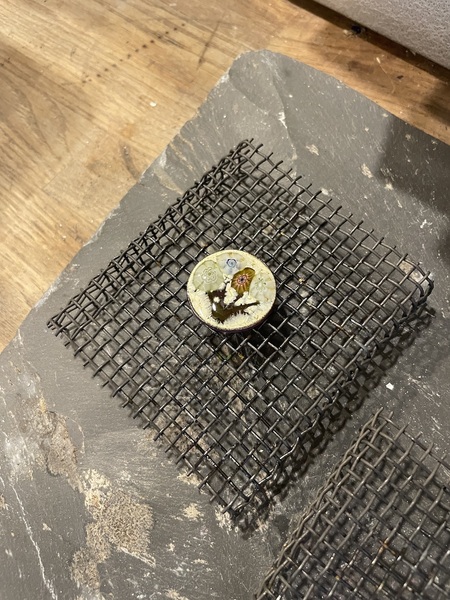
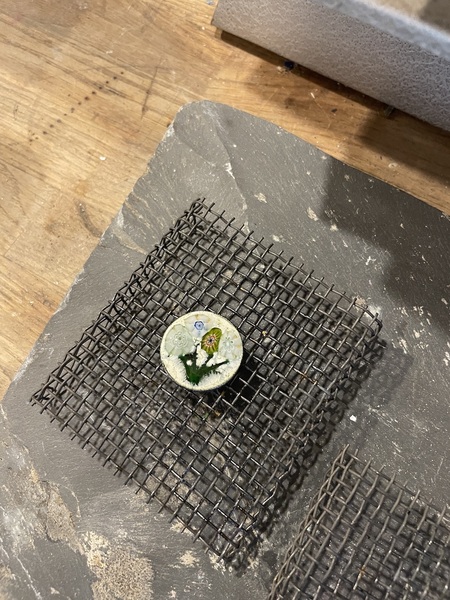
Finally, it was off to the kiln for my second piece - this one taking a little longer to allow the glass beads and rods to melt in the heat. It was still less than 2 minutes however of keeping a careful eye on it, and the moment very quickly arrived to remove it and allow the stages of cooling to reveal the final effect.
Red hot!
After a few seconds.
Colours emerging.
More definition.
Over blending.
The finished piece.
In hindsight, if I were to repeat the process I would use a finer glass rod and 3 instead of 4 beads as the 'stems' blended together in the kiln as did the flowers, losing some of their definition. Overall though, I created a pretty brooch and I was pleased with the result. I loved the fact that Rachel didn't try to influence my decisions; I felt free to just have a go and experiment.
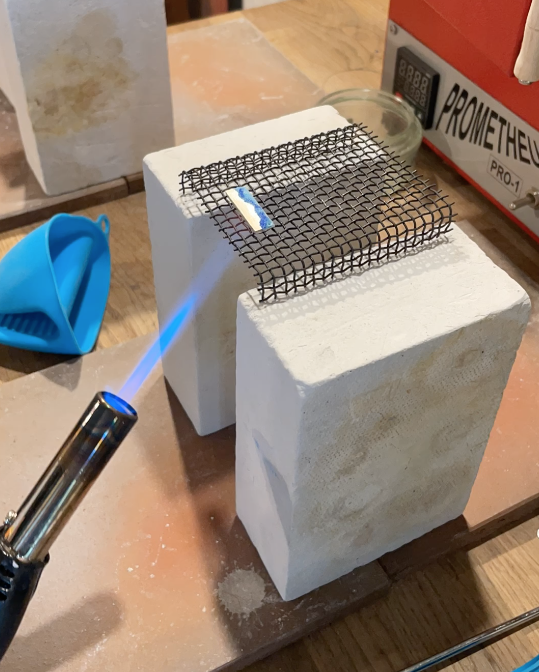
Final project of the day - wet packing onto silver.
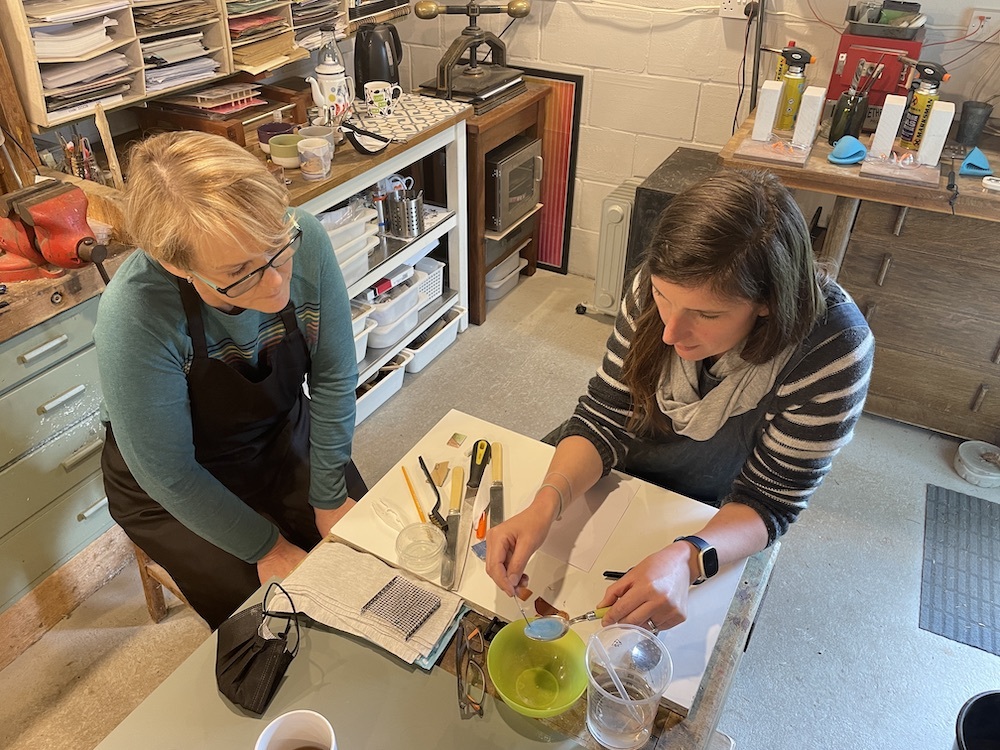
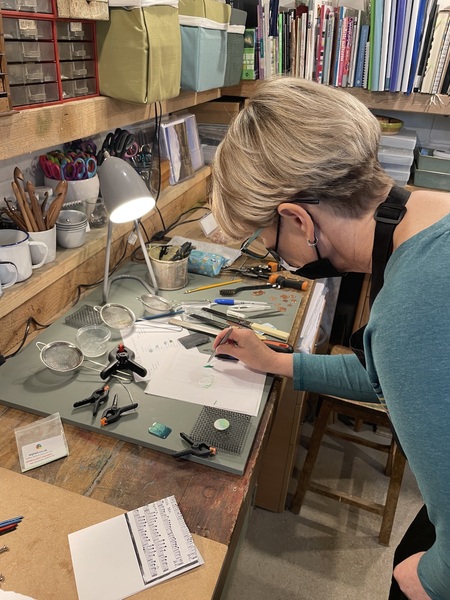
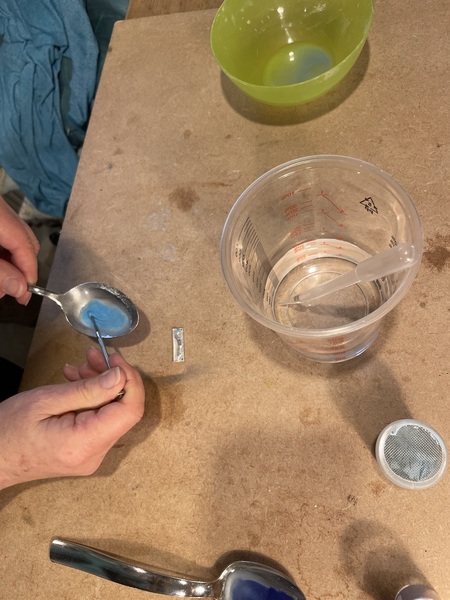
The third and final project for our session was wet packing enamel onto silver. The silver piece had already been created by Rachel using silver clay (Rachel has a selection of courses teaching this technique), and just needed cleaning with a wire brush. Rachel then showed me how to wash the enamel powder to remove impurities, leaving a wet mix that could then be applied to the silver base using a small tool such as a tiny screwdriver or even a toothpick!
I created the second, darker blue mix and then carefully applied both. The wet enamel sits proud on the silver base, the surface tension of the water preventing it from sliding off but also requiring very delicate handling to transfer it to a warming plate where the water evaporates leaving just the enamel powder in place. It is important to remember, at this stage, to reinstate any holes in the silver (or any piece with pre-drilled holes) that will be used for a chain or other jewellery finding - a very delicate operation needing a steady hand. I also used a magnifying glass to gently remove, with a tiny brush, particles of the enamel that had strayed onto the exposed silver surface.
Removing impurities
Wet packing.
Colour contrast.
Instead of firing in the kiln, this piece was blowtorched from below (to avoid blasting the enamel off the surface). It very quickly transformed through the granular and melting stages before taking on the, by now, familiar glassy appearance of the finished enamel. Again, a few minutes cooling to see the final result which was very pleasing.
Who doesn't love a blowtorch?!
The final process was to finish all 3 pieces with jewellery findings. Jump rings and silver chains were added to the copper and silver necklaces, and a pin was glued to the back of the floral brooch. All in all a very satisfying, immersive, and enjoyable 3 hours (although perhaps a little boring for some)!
Are you nearly finished?
I can thoroughly recommend giving jewellery enamelling a go. I, for one, am keen to try this wonderful technique again and refine my fledgling skills, play around with different colour combinations, try different beads, add copper wire, any number of options and variations. It also feels completely within my reach: my crème brûlée blowtorch is perfectly adequate (all 3 pieces could be fired with a blowtorch), the equipment we used doesn't need a great deal of storage space, and all the 'ingredients' are easily available. This is an accessible craft and you could soon be making a beautiful range of jewellery or other objects for yourself or as gifts for friends and family.
Whilst there is definitely room for improvement, I don't think I did too badly for a first go!
A satisfying afternoon's work.
With very grateful thanks to Rachel Ellen at Gifted Crafts Company for giving so generously of her time, expertise, and enthusiasm. If you're looking for a new hobby or skill, or you just want to have a go at something a bit different from your usual creative pursuits, why not give this wondrous craft a go?
If the Shropshire hills are a little too far off the beaten track for you, we have makers in various regions of the UK offering a range of different enamelling techniques, or even online classes so that you can try enamelling from the comfort of your own home.
Our website uses cookies to give you the best user experience. By using the site you are consenting to our use of cookies. You can find out more in our Privacy Policy.
You can manage your selection from the 'Cookie settings' in the footer of the page