Notes from a felting workshop in Wales
This felting workshop was designed for all abilities from advanced crafters to complete beginners such as yours truly. But we were all united by our love of colour and texture.
The mountain of rainbow coloured fluffy merino wool before our eyes immediately became the focus of our attention.
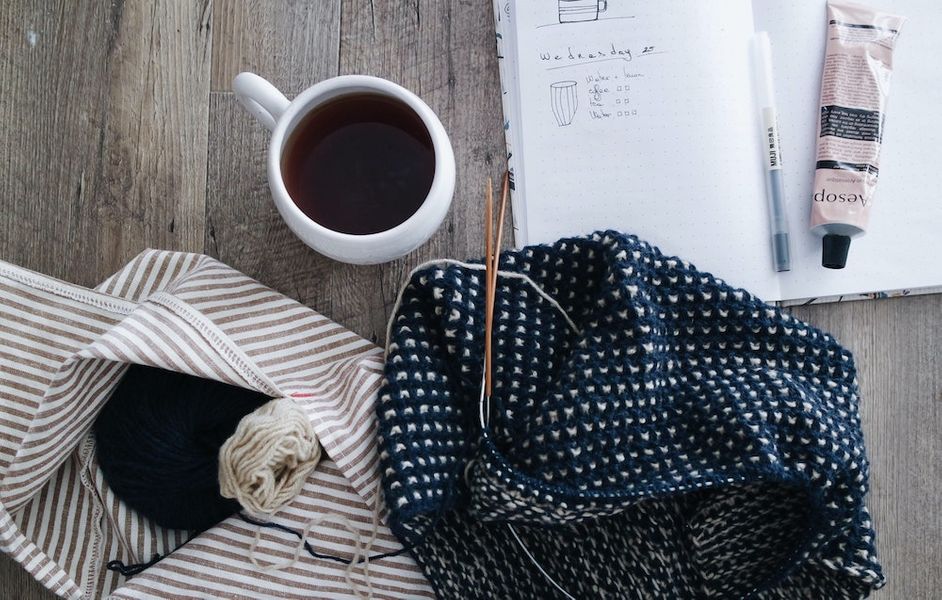
It was a fairly cold day outside so we were all happy to start the workshop with a nice cup of tea, while we admired the felted goods on display and chatted.
To start us off, we made simple felt balls, which are used to make jewellery or as pompoms on bags and shoes. These are crafted by winding small threads of wool around the end of your finger until a sphere emerges. Once tightly wound and marble sized, this is then dunked in soapy warm water and rolled around the palms of your hands. We were advised to start with the plain white wool to form the inner part of the ball. This is a good tip because un-dyed wool costs less, so should be used for any bits that won’t be seen in the finished product.
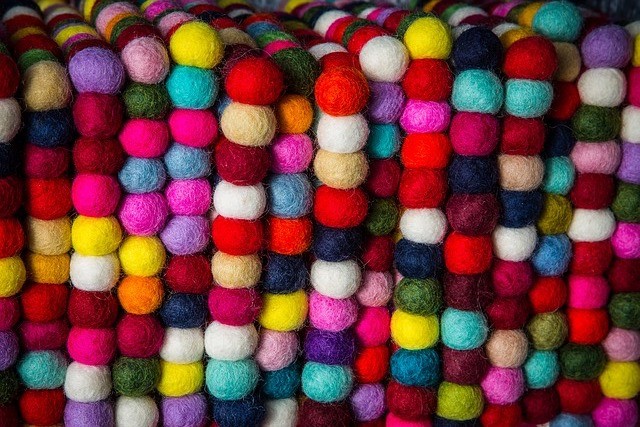 Colourful felt balls
Excitingly, we were then invited to make pretty much whatever we fancied. A few people went for wall hangings, one made a tea cosy, and another fancied a shoulder bag. I decided to tackle baby bootees, as a special (I hoped!) present for my new baby nephew.
Basic wet felting kit:
- Sheet of bubble wrap
- Sheet of gauze
- Jug of warm water
- Bar of soap
- Wool
- Plastic pattern (if making an object such as bag or tea-cosy or slippers)
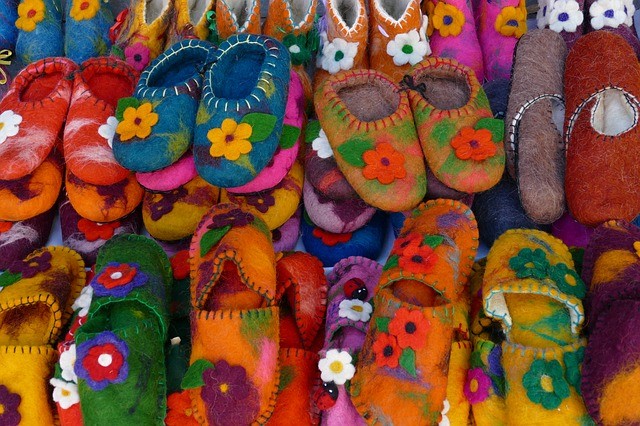 Beautiful felt slippers (mine did not look as good as these!)
Wet felting: the process
Patterns
The patterns for whatever we wanted to make were made by simply cutting that shape out of thick black plastic. Mine looked like an elongated letter C and would eventually be cut in half to create the left and right boots. Onto the bubble-wrap we lay our patterns.
Carding
To get the wool ready for felting, it needs carding. This is done using two large Carders. These wooden handled combs (which reminded me a bit of the dog brush I use at home) serve to meld the colours together beautifully. Carding makes the wool all fluffy and easier to spread. I chose a range of deep and mid blues, with pale blue for the inside of the bootees.
Layering
The first layer was a challenge. Partly because I only knew what to do in theory. But also because the first layer is the one that is most visible on the finished product, so any mistakes are obvious. No pressure!
Once the first layer of fine wool is carded and spread over the plastic mould, the gauze is placed carefully over the top of the wool. Then, the whole thing is flicked with wet spay water, before being pressed down and rubbed by hand until the whole thing is moist.
This takes about 2-3 minutes and then the gauze is taken off the plastic mould and the first layer is turned over. We were advised us to leave at least an inch of wool around the edges of the pattern and these overlaps were folded over and pressed in. Then the process was repeated. Once both sides had been covered, flicked with water, rubbed in with soapy hands and the edges folded over, the first layer was complete. Each garment requires on average 6 layers of merino wool to be strong enough to hold the shape, so as I got towards the 6th layer, I stared using lighter shades of blue with some cream, so that the inside of the bootees would be pale.
It was a very enjoyable and soothing process and the group chatted peaceably.
 Thank you Woolly
 Hand made felt hats
Shaping
A lot of handling of the wet felt is required so that it binds together properly to create a stable surface.
I spent at least an hour just massaging the bootees into shape.
Once the fabric had been formed it could be throughly rinsed off in cold and warm water alternately. Then it was time to cut the shape down the middle, pull out the plastic mould and turn the bootees inside out.
The results!
As each object was revealed the group gathered to whoop encouragement and admire each others work.
I was delighted with the whole experience of wet felting and my sister was delighted with the cute little bootees I made for her newborn baby - not bad for a first attempt!
It was a lovely day and the whole group enjoyed the easy atmosphere, chatting and the opportunity to be creative with sackfuls of gorgeous merino wool - all in all possibly the best £25 I ever spent!
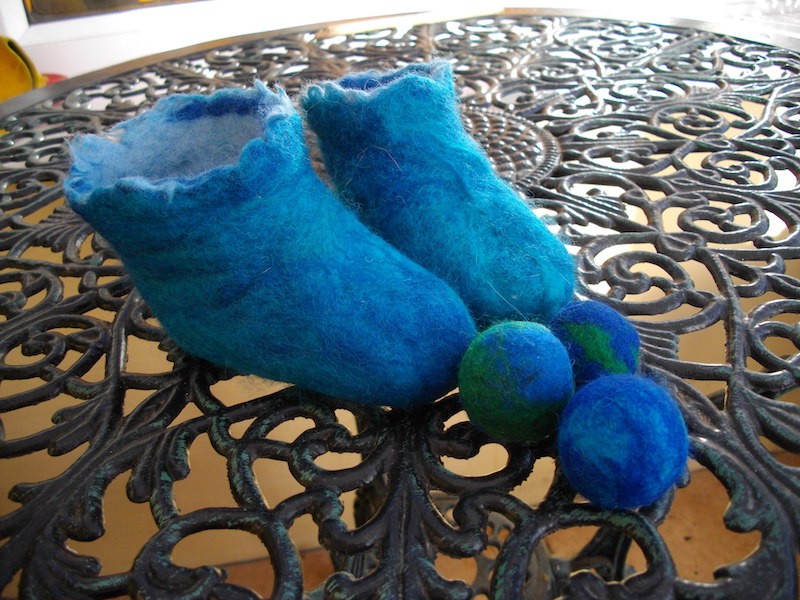 I made these!
Why not try it out? Browse hundreds of felting courses all across the UK. Add your post code for those nearest to you.