There's nothing quite like learning a craft from an experienced craftsperson and talented tutor, allowing you to glean gems of hard-won wisdom from their advice and through watching them work. Author and craftsperson Anthony Dew attended such a course, and shares his fulfilling experience at a one day lino printing workshop in the Yorkshire Dales. Read on for some lino print tips to get you started.
With over 30 years experience as an art teacher and 10 years practicing lino printing* which she clearly loved, Kath Lockhart was the ideal person to introduce a group of enthusiastic amateurs to the craft.
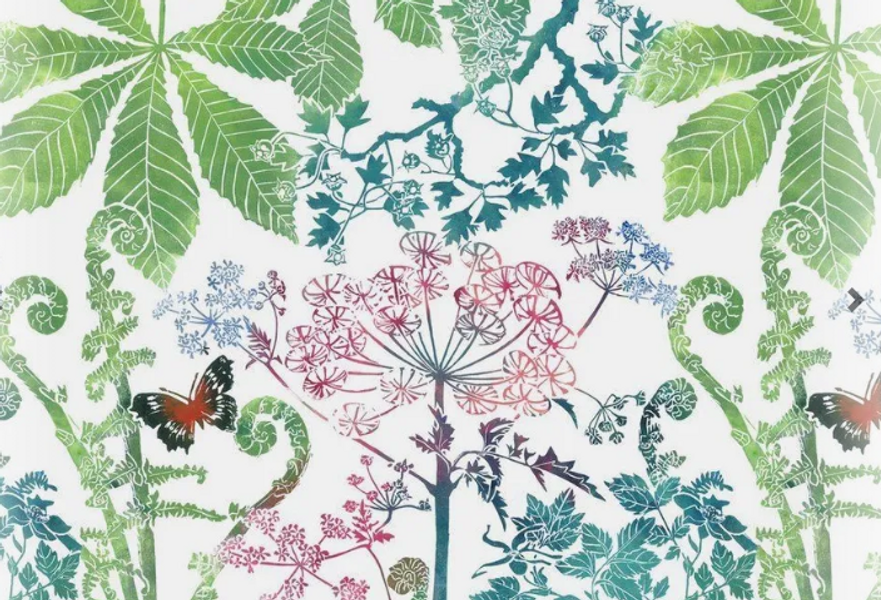
There were 6 students on the course I attended, 3 men and 3 women, one of whom had been before and enjoyed it so much she’d come back for a second go. The day started with coffee and introductions, then Kath showed us examples of lino prints by professional artists including big names like Picasso and Hockney as well as her own work and that of her former students, which impressed us all, especially the students’ work. If we could produce something that good by the end of the day we’d be well pleased. ‘You will,’ Kath said, ‘it’s guaranteed’.
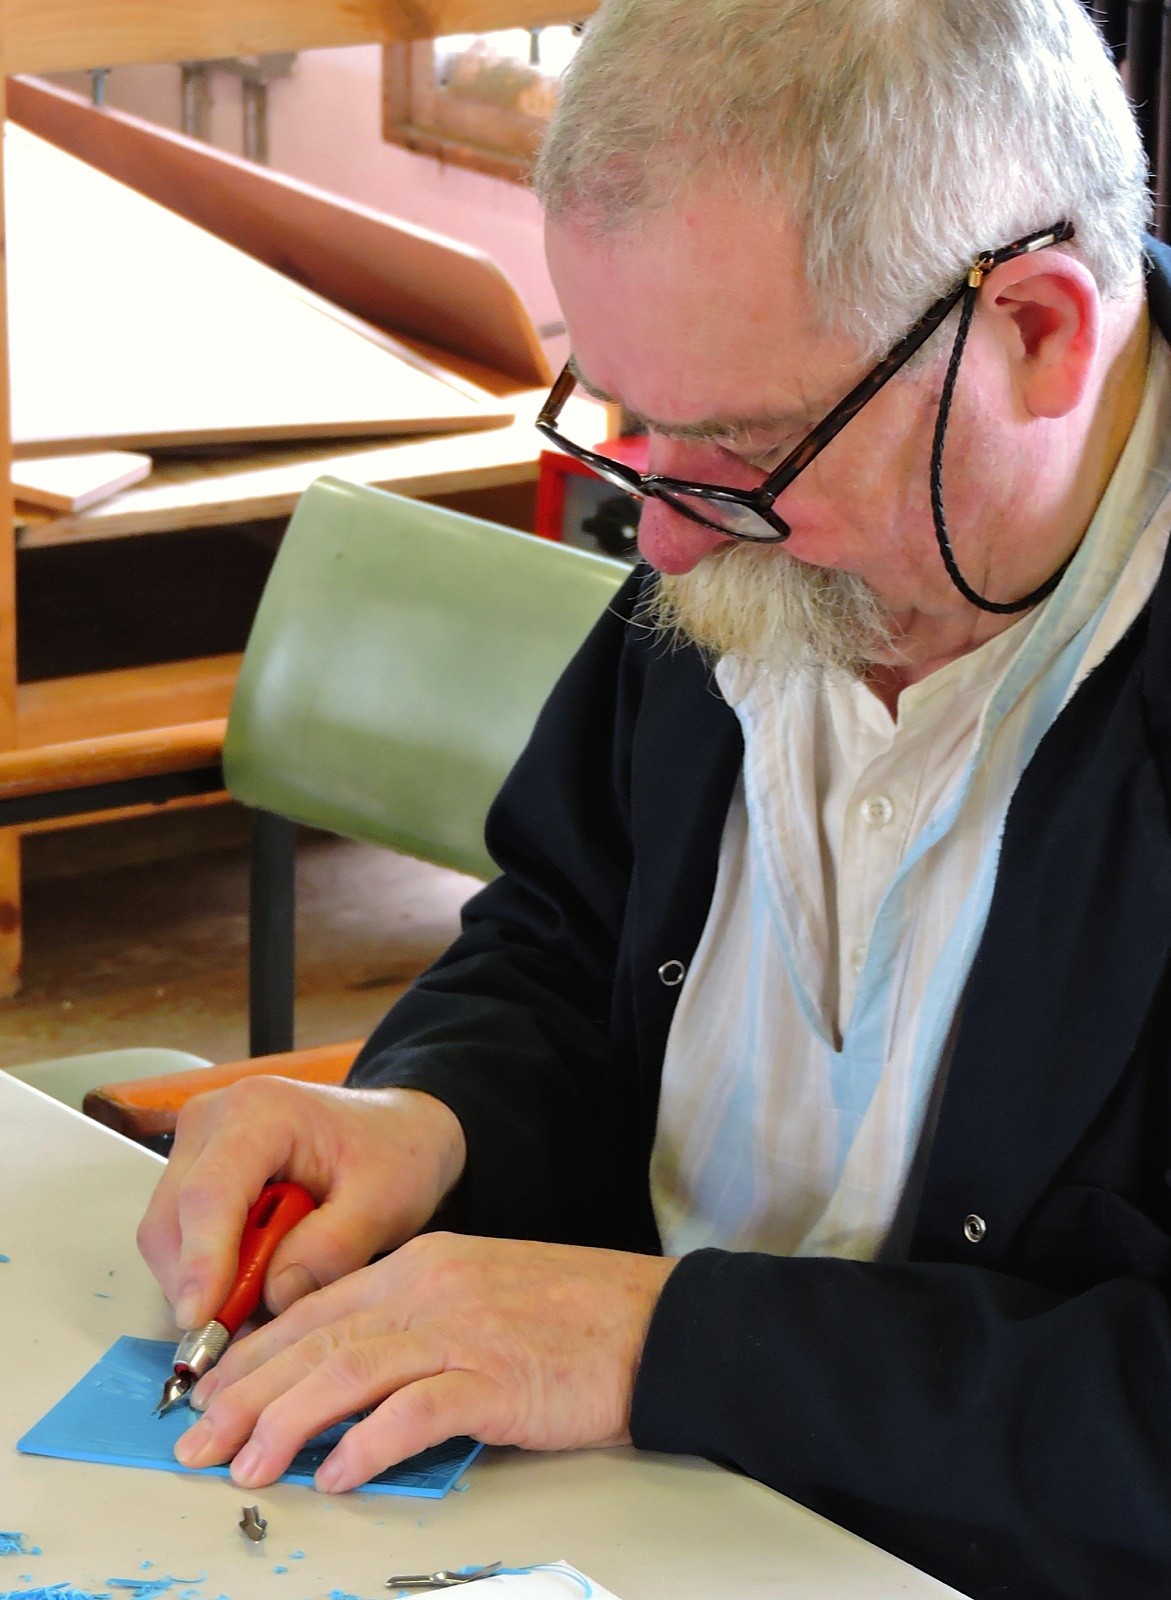
We gathered round to watch the tutor demonstrate tool use, starting with the familiar but vital, ’Keep your fingers behind the cutting edge’. The techniques of lino cutting and printing, like most crafts (and arts), are basically extremely simple. But we were all beginners and making those seemingly simple cuts into a good-looking picture was daunting.
The most pressing questions were ‘What can I draw?’ and ‘What if I can’t draw?’
Both question were immediately countered by Kath saying, ‘It doesn’t matter. Draw your own or copy one of these’, and the room fell silent as we got to work on our creations.
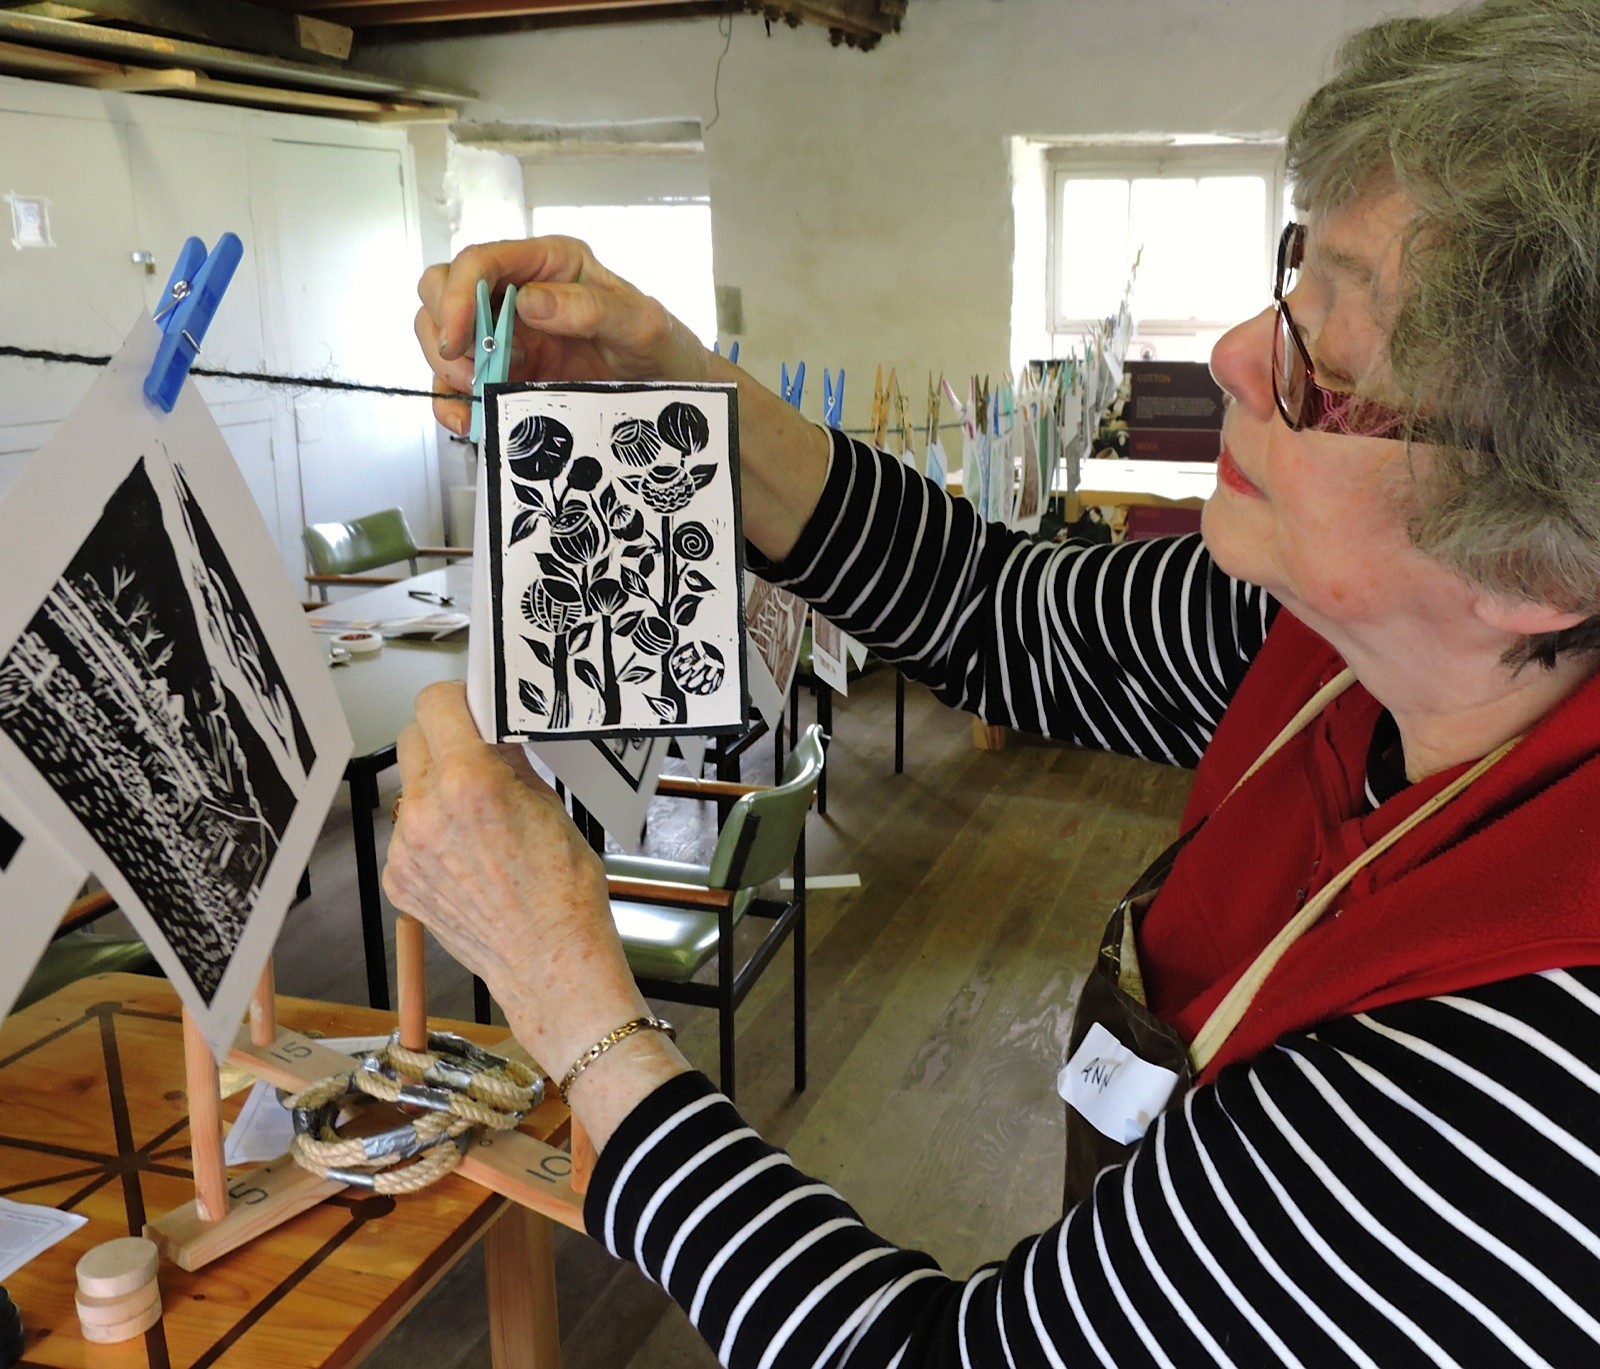
By lunchtime - soup and sandwiches brought in from the excellent Wensleydale Pantry - we were all onto the printing stage. There was plenty of paper for practice prints and it really is a thrill to peel the paper off the lino-cut to reveal your mini-masterpiece (or mess!). Ink got everywhere and although it washes off easily I was glad I’d brought an apron. Some of us (working fast!) then cut a second lino print while others revised and improved their original. And one or two, including the second time around lady, made some interesting two colour prints.
It's easy to be caught out by the need to create a mirror image of the desired final creation, particularly important for any wording. My first attempt at a lino print of our Mill venue ended up the 'wrong way around'. The second attempt was more successful!


As well as expert tuition and lunch, the course fee for the workshop included a lino cutting tool with 5 blades, 2 decent size pieces of lino and a smaller practice piece, and a small pot of black ink so you can carry on at home. Also 4 good quality fold-over cards and a paper carrier which were all printed up (after making several practice prints).
By the end of the day we all had something to show off when we got home, which is what you want.
Verdict: A fascinating experience, a new skill learned (the basics, anyway) in delightful surroundings in the heart of the Dales, and a satisfying result. Highly recommended.
Click through to browse lino printing workshops around the UK and find a course near you.
*lino printing is sometimes referred to as linocut or block printing.